

What You Need
Before starting, confirm that you have:- A supported Fairphone 6 Enigm OS device with sufficient battery.
- Network access through Wi-Fi, mobile connectivity, or the deployment network available to the device.
- The credentials or enrollment information required by your Enigm deployment.
- Physical control of the device during setup.
Setup Wizard Flow
The setup wizard is intentionally guided. Follow the product prompts in order.1
Start Enigm OS
The welcome screen confirms that the device is entering the Enigm OS setup flow. Use accessibility settings if required, then select Start.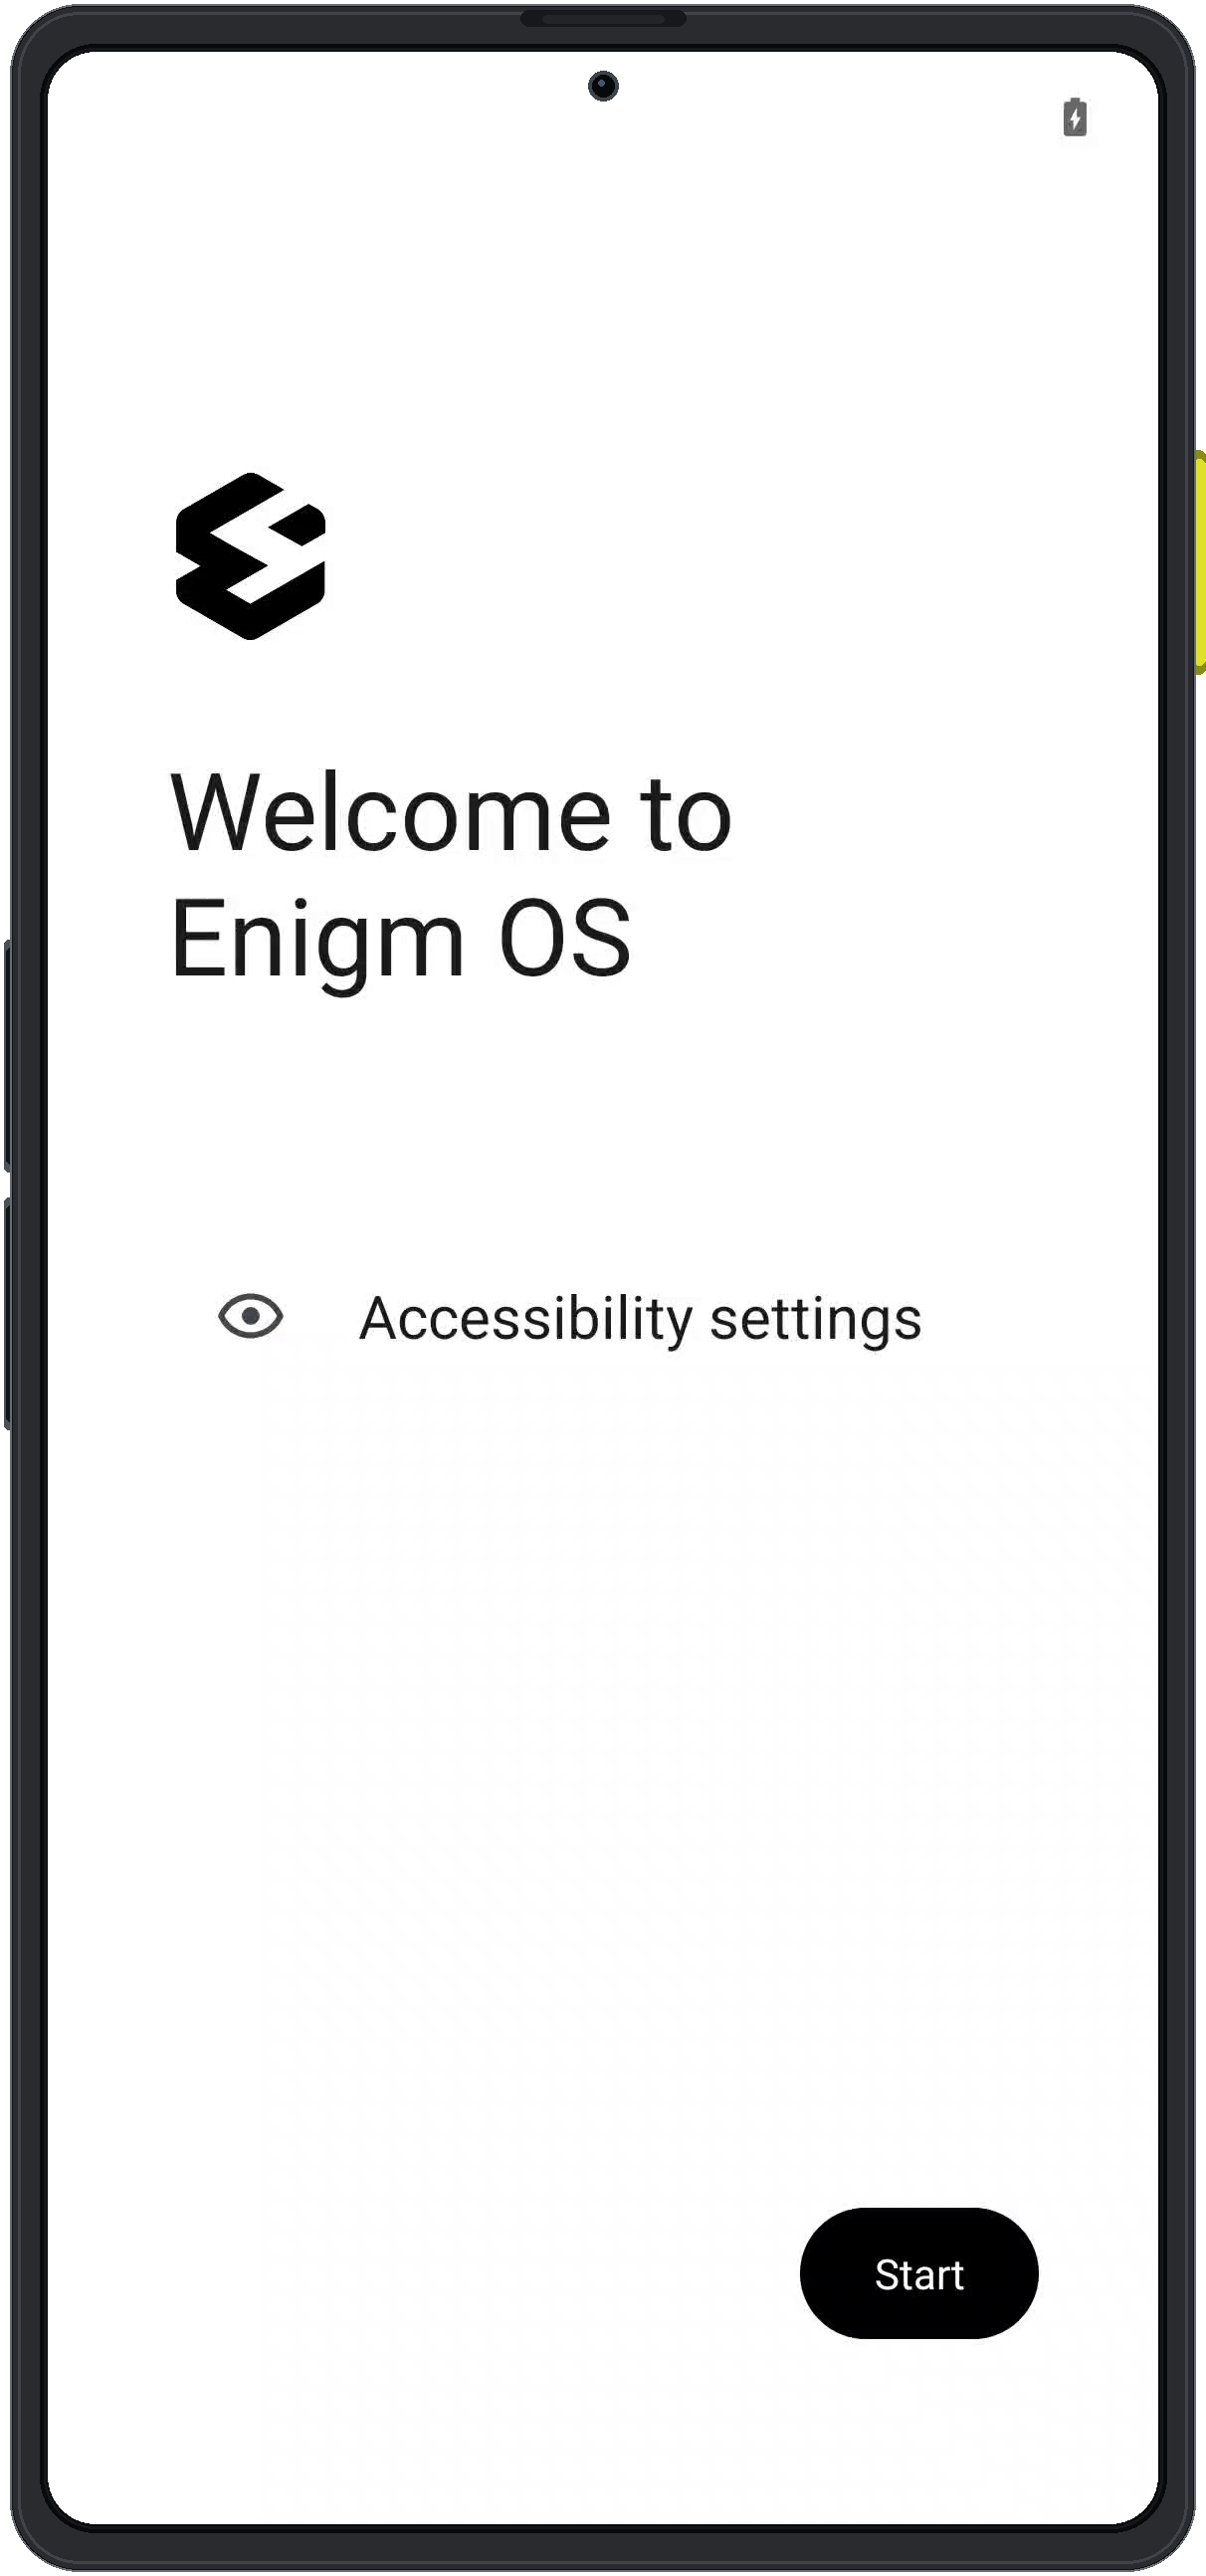
2
Select language
Choose the interface language for the device. Language selection affects the setup experience and the device UI after onboarding.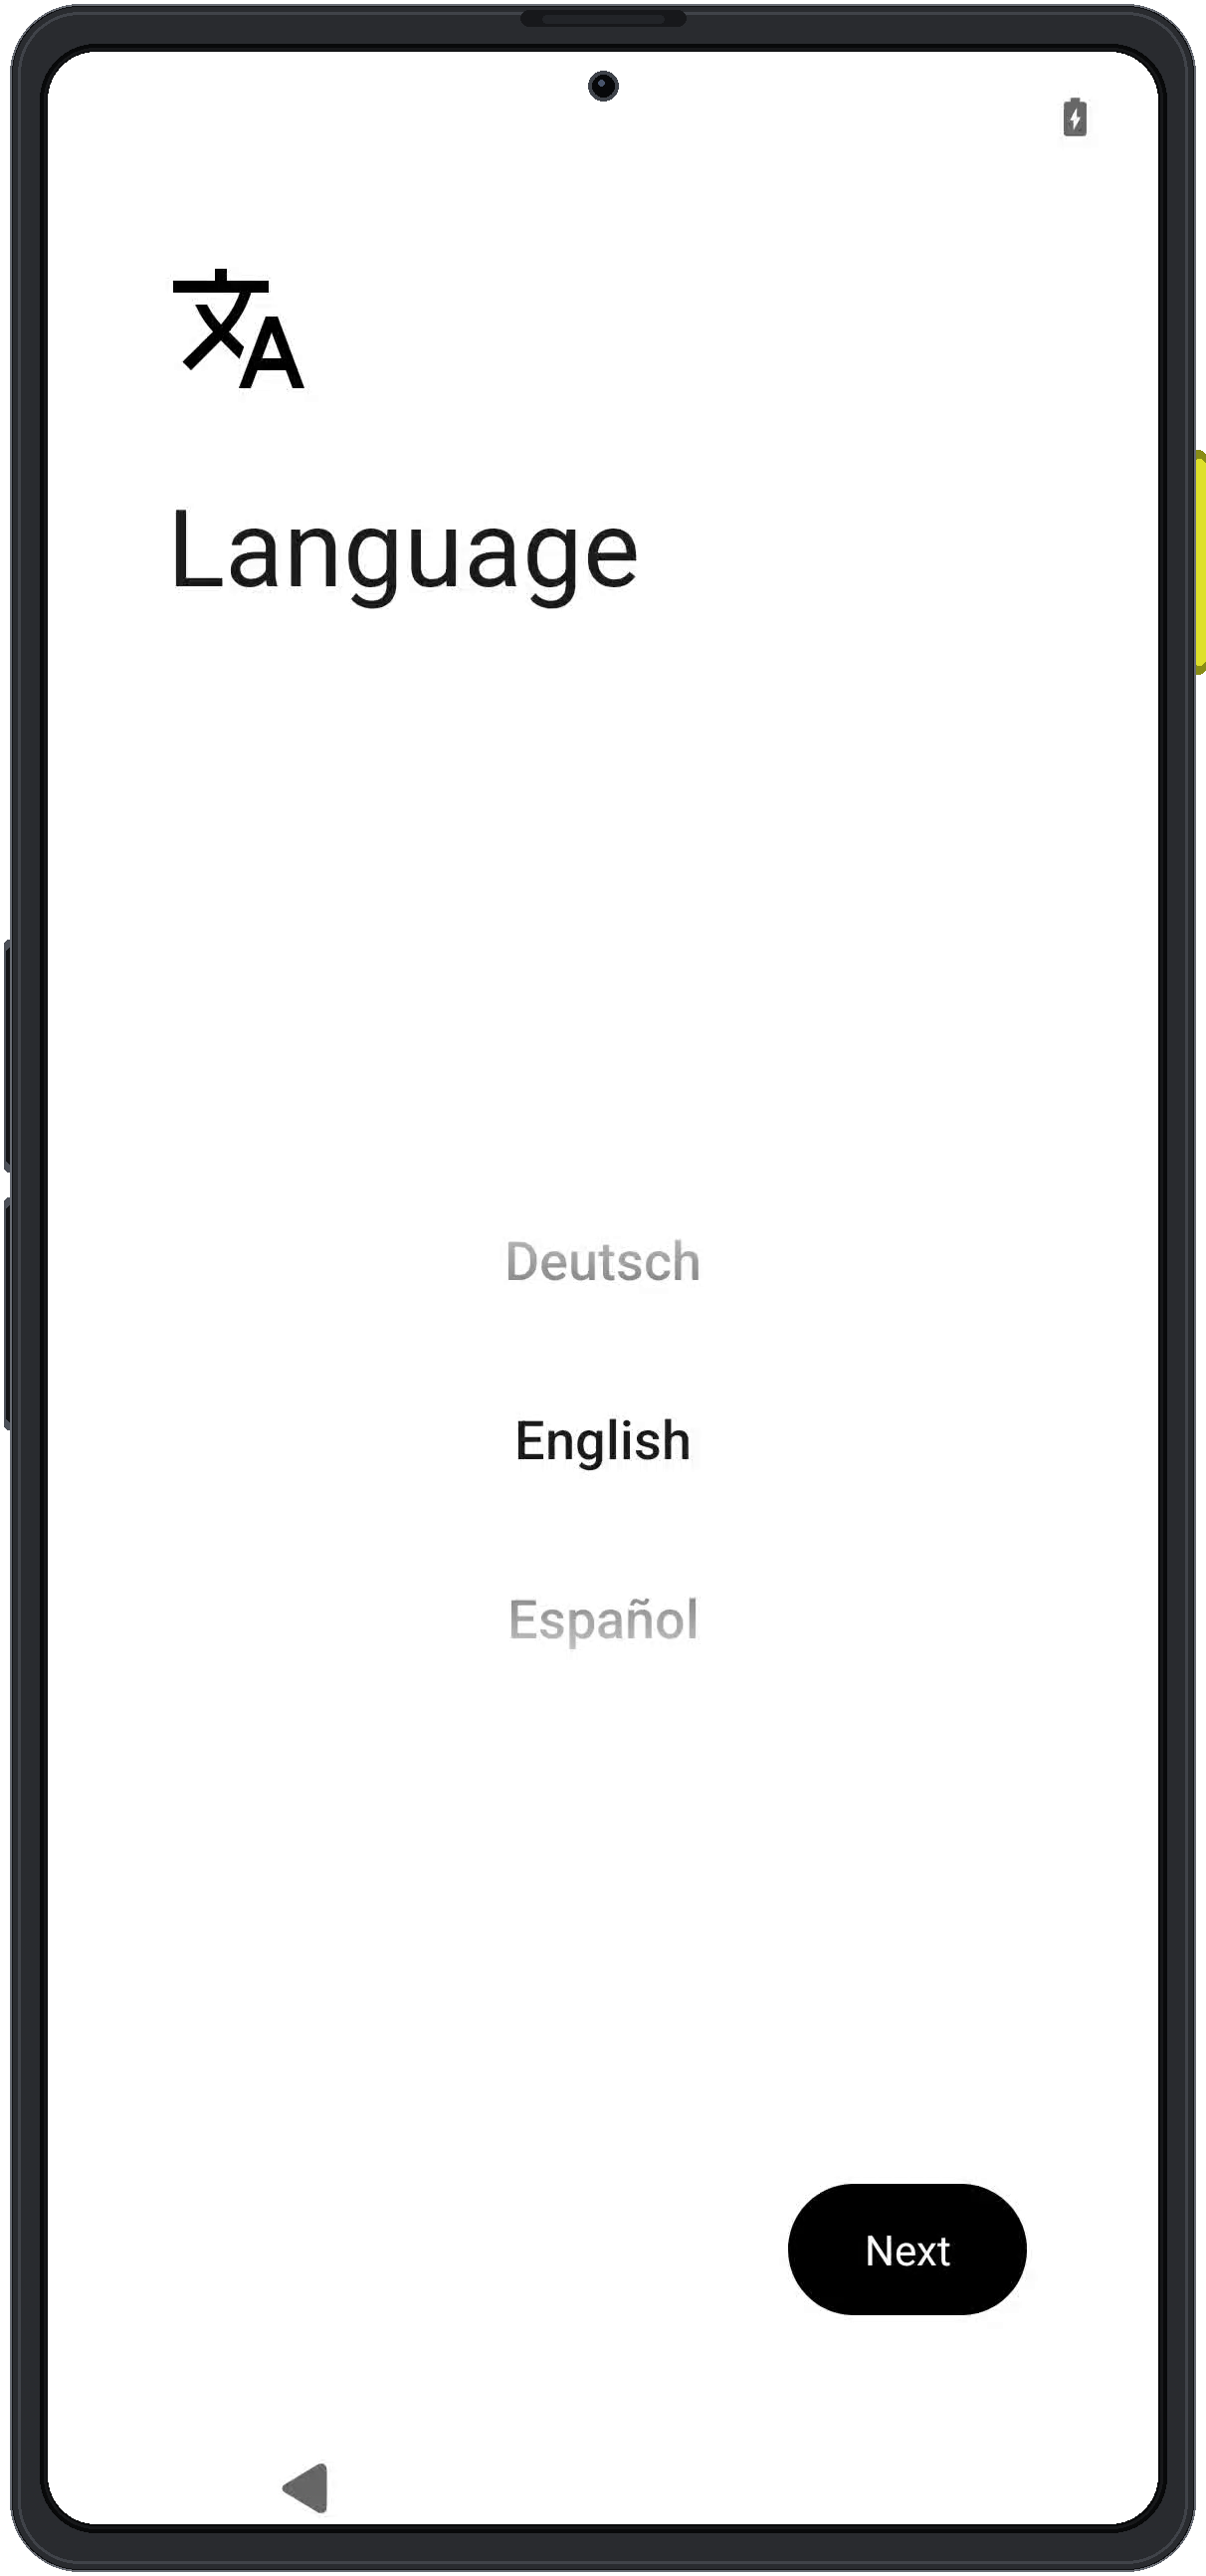
3
Review mobile connectivity
Enigm OS checks physical SIM connectivity before continuing. If no physical SIM is detected, continue with the available setup path and configure Wi-Fi or another permitted network path. Enigm eSIM is associated after the wizard from Enigm OS settings.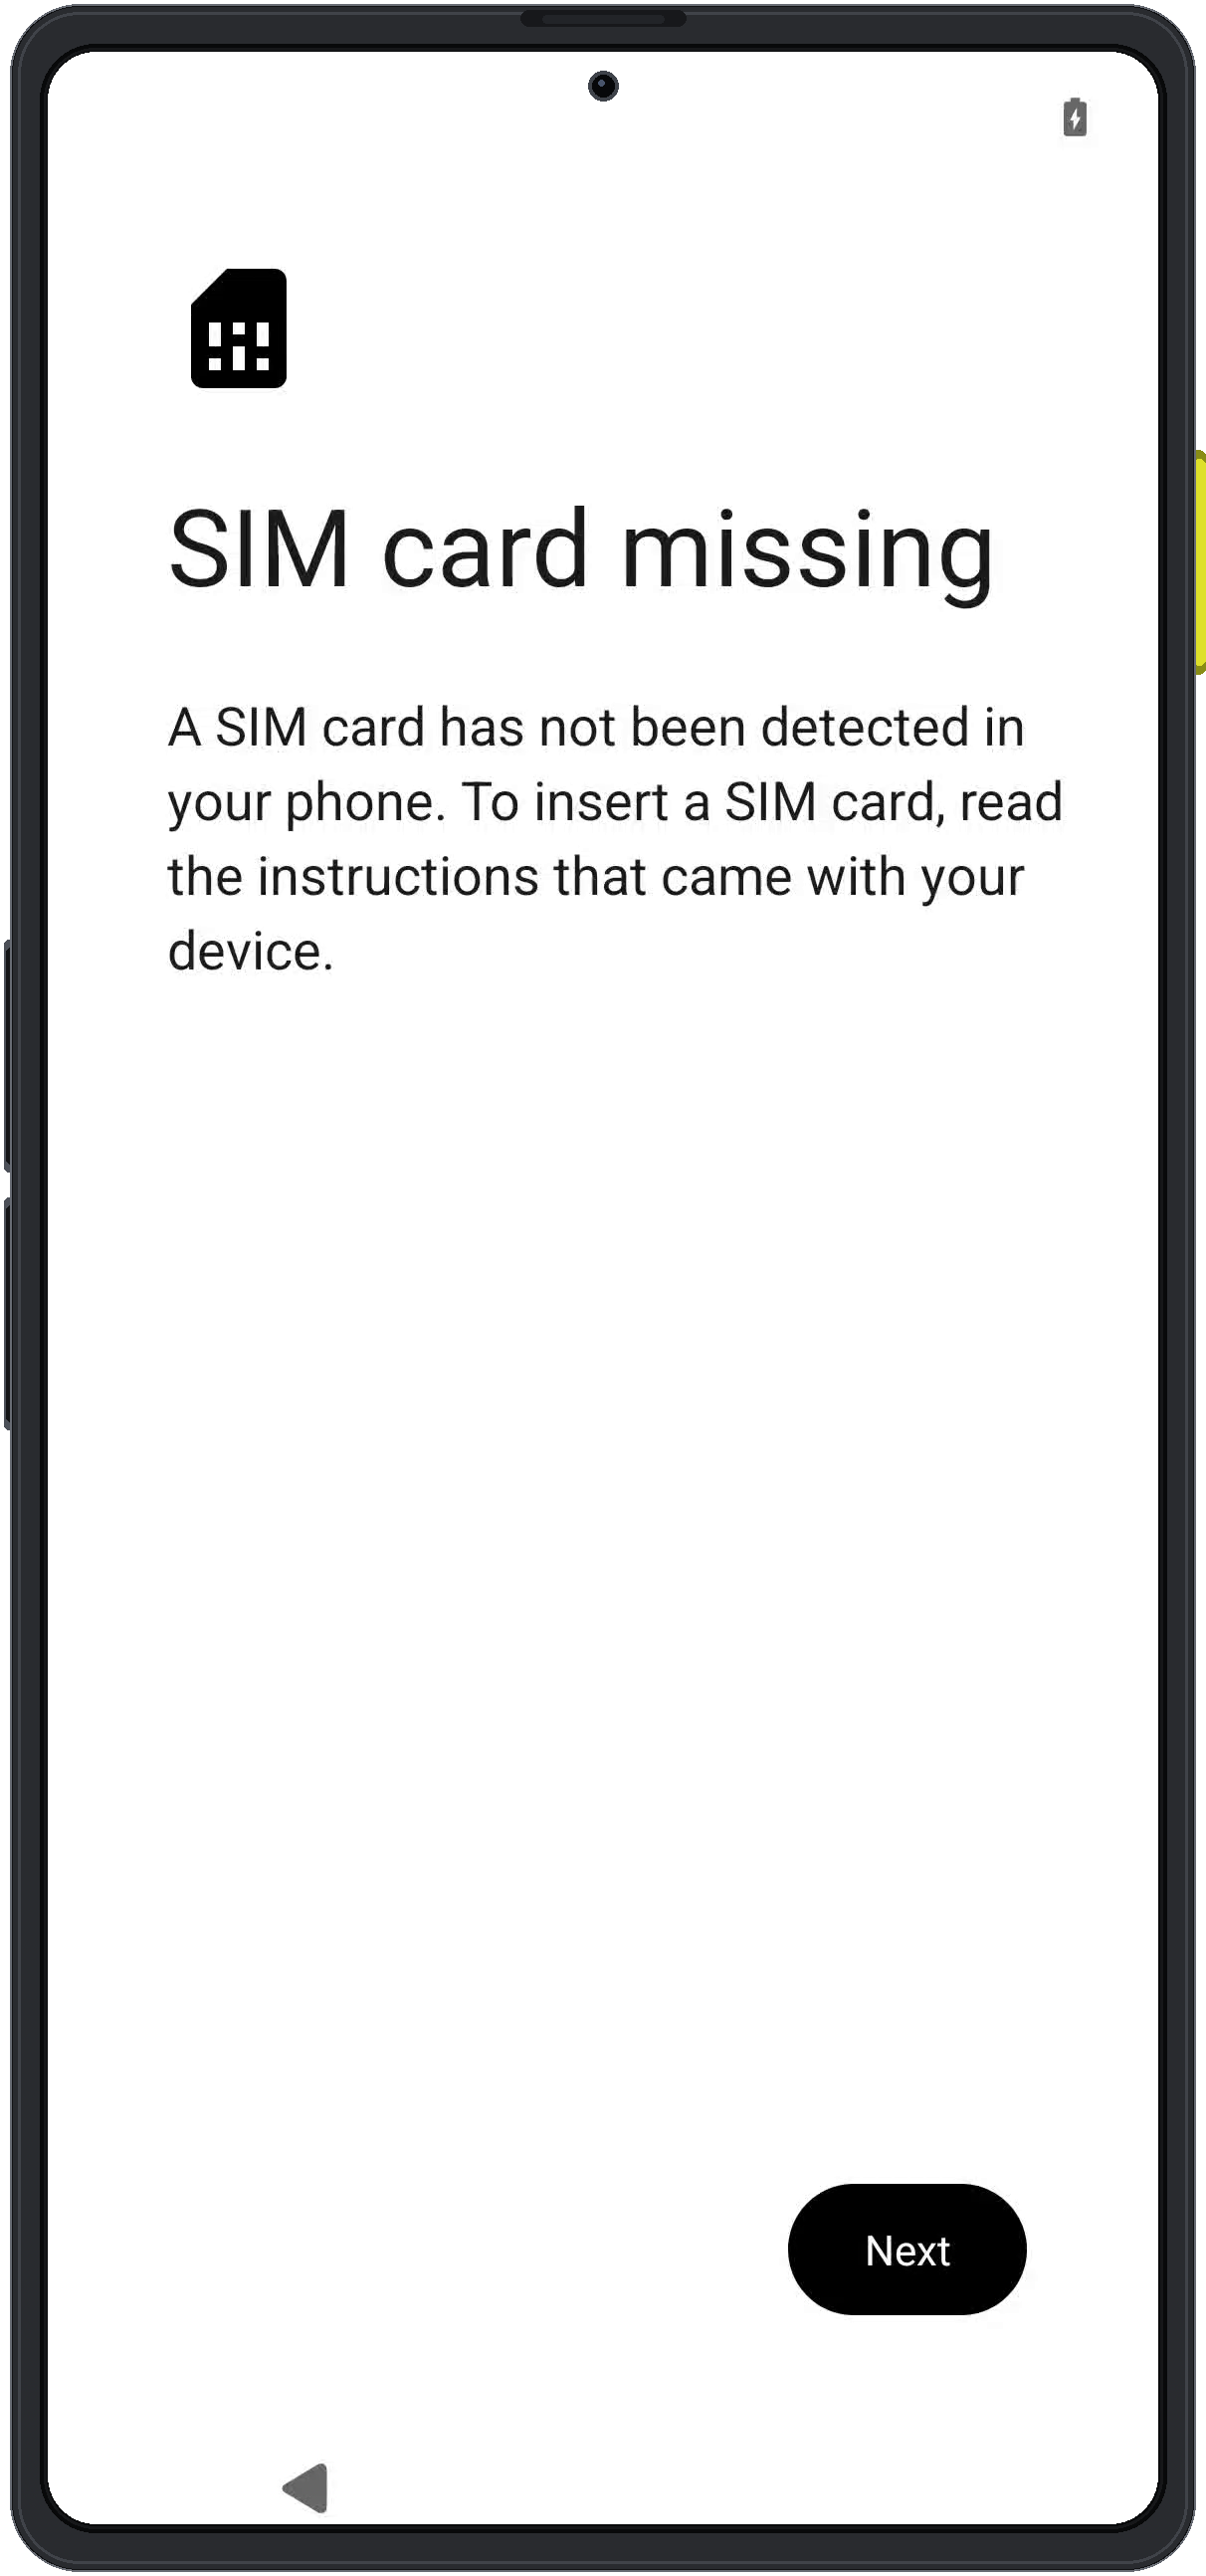
4
Configure Internet access
Configure Wi-Fi or another permitted network path. Network access supports setup completion, activation, policy retrieval, and account or device enrollment where required.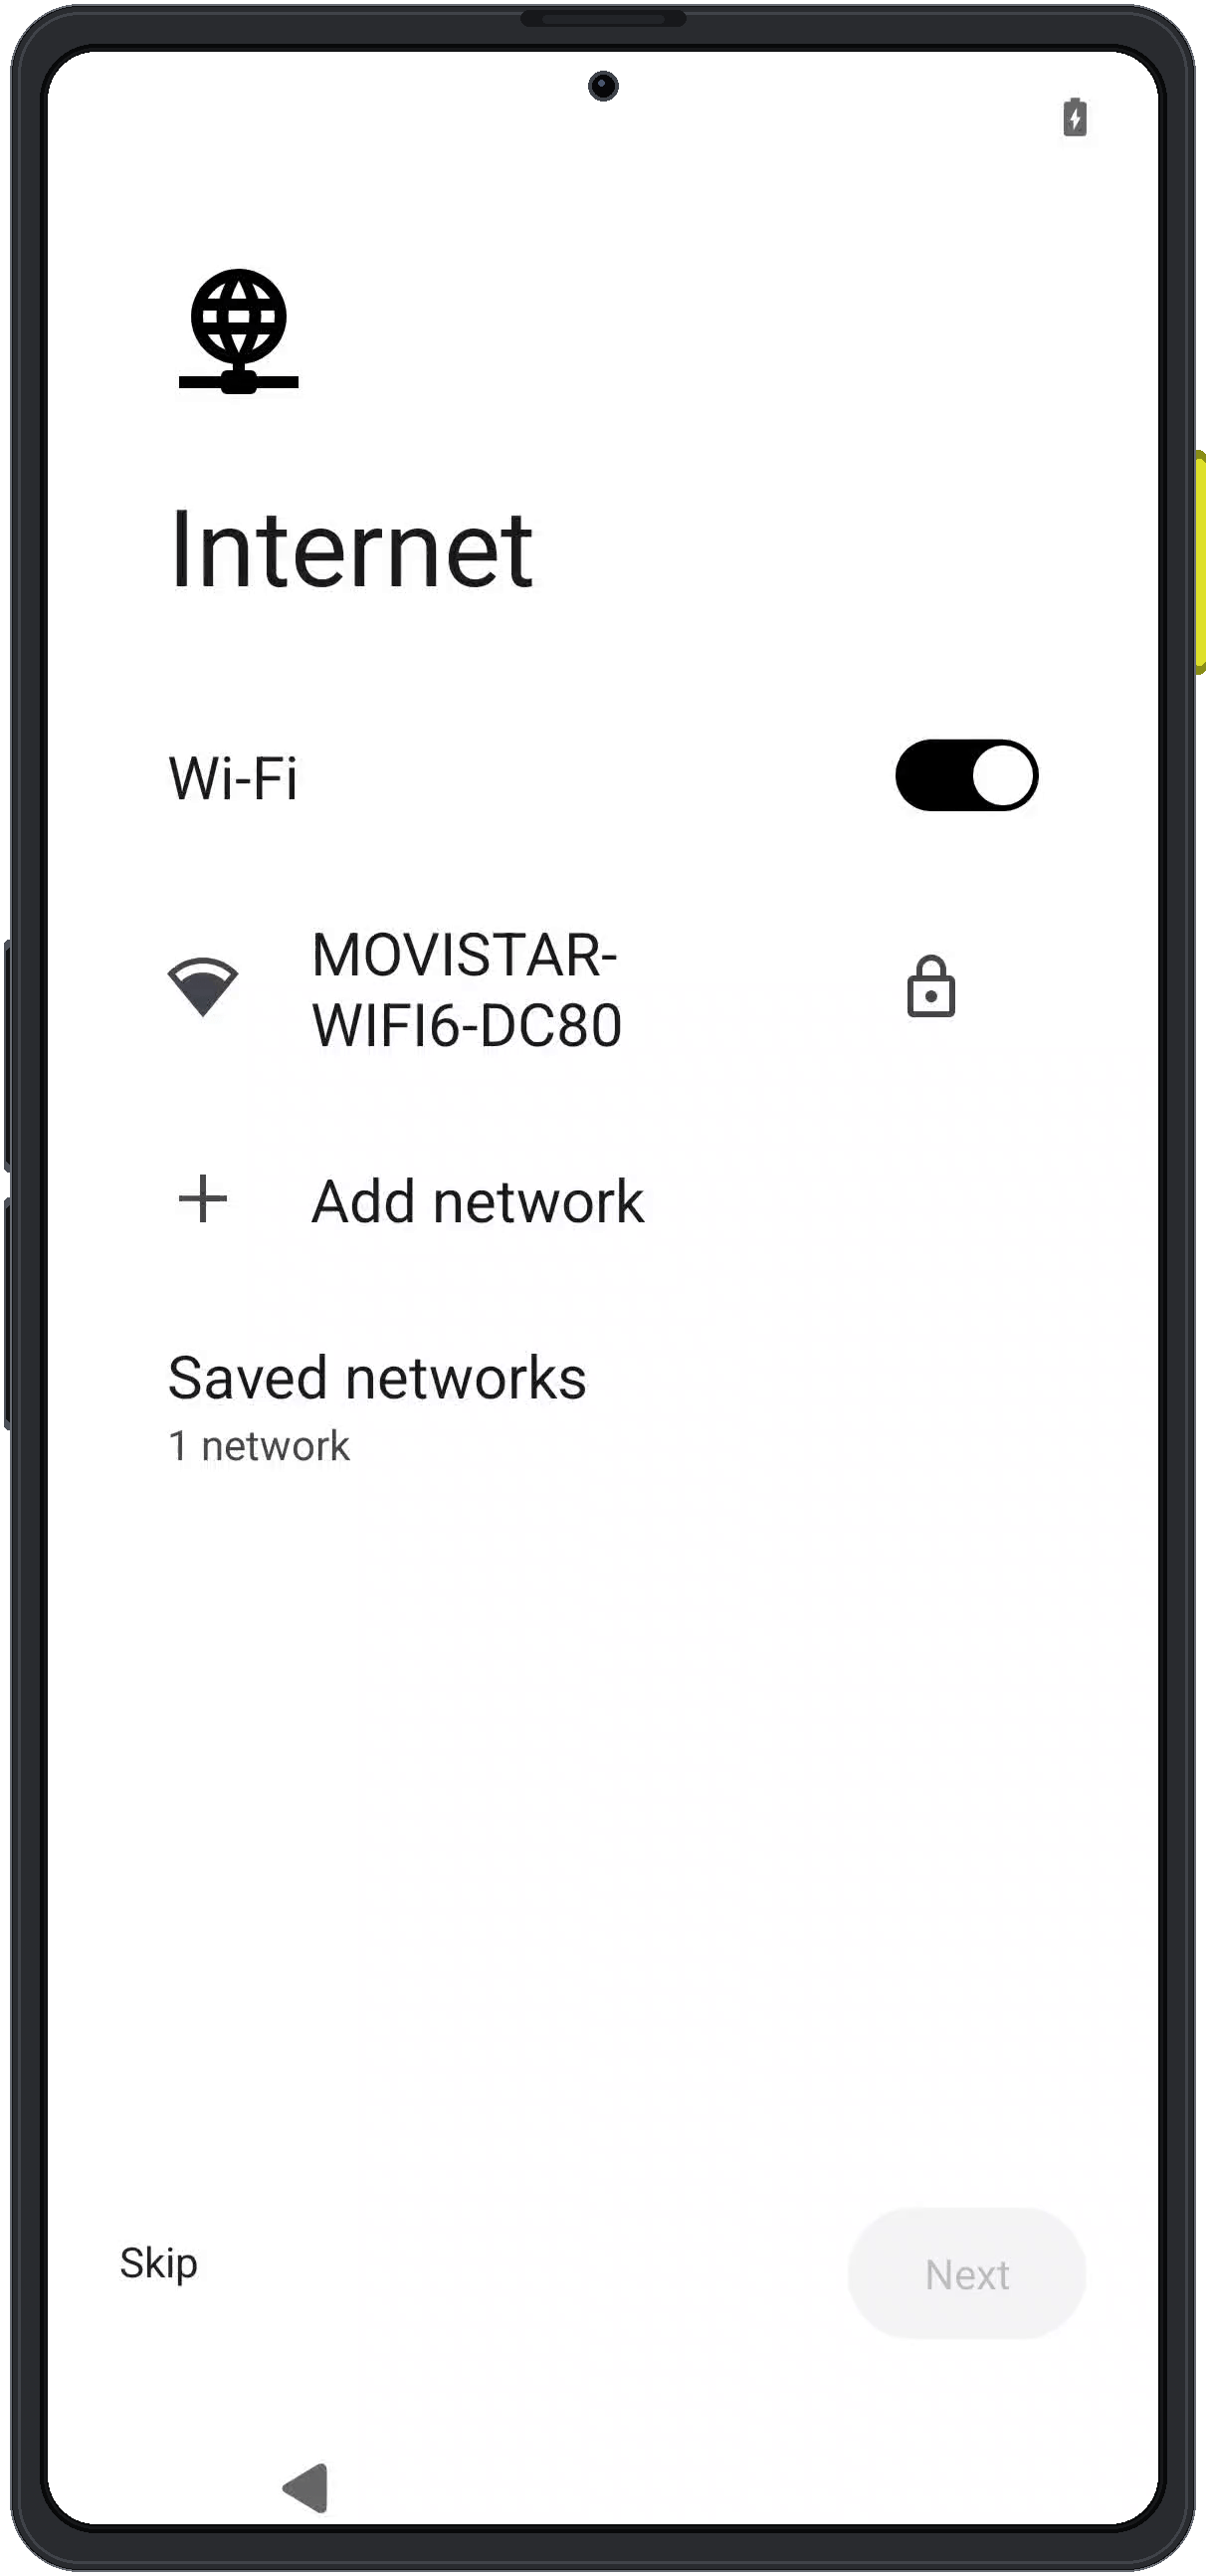
5
Confirm date and time
Confirm the device time zone, date, and time. Correct time configuration supports certificate validation, update verification, security event ordering, and time-sensitive platform workflows.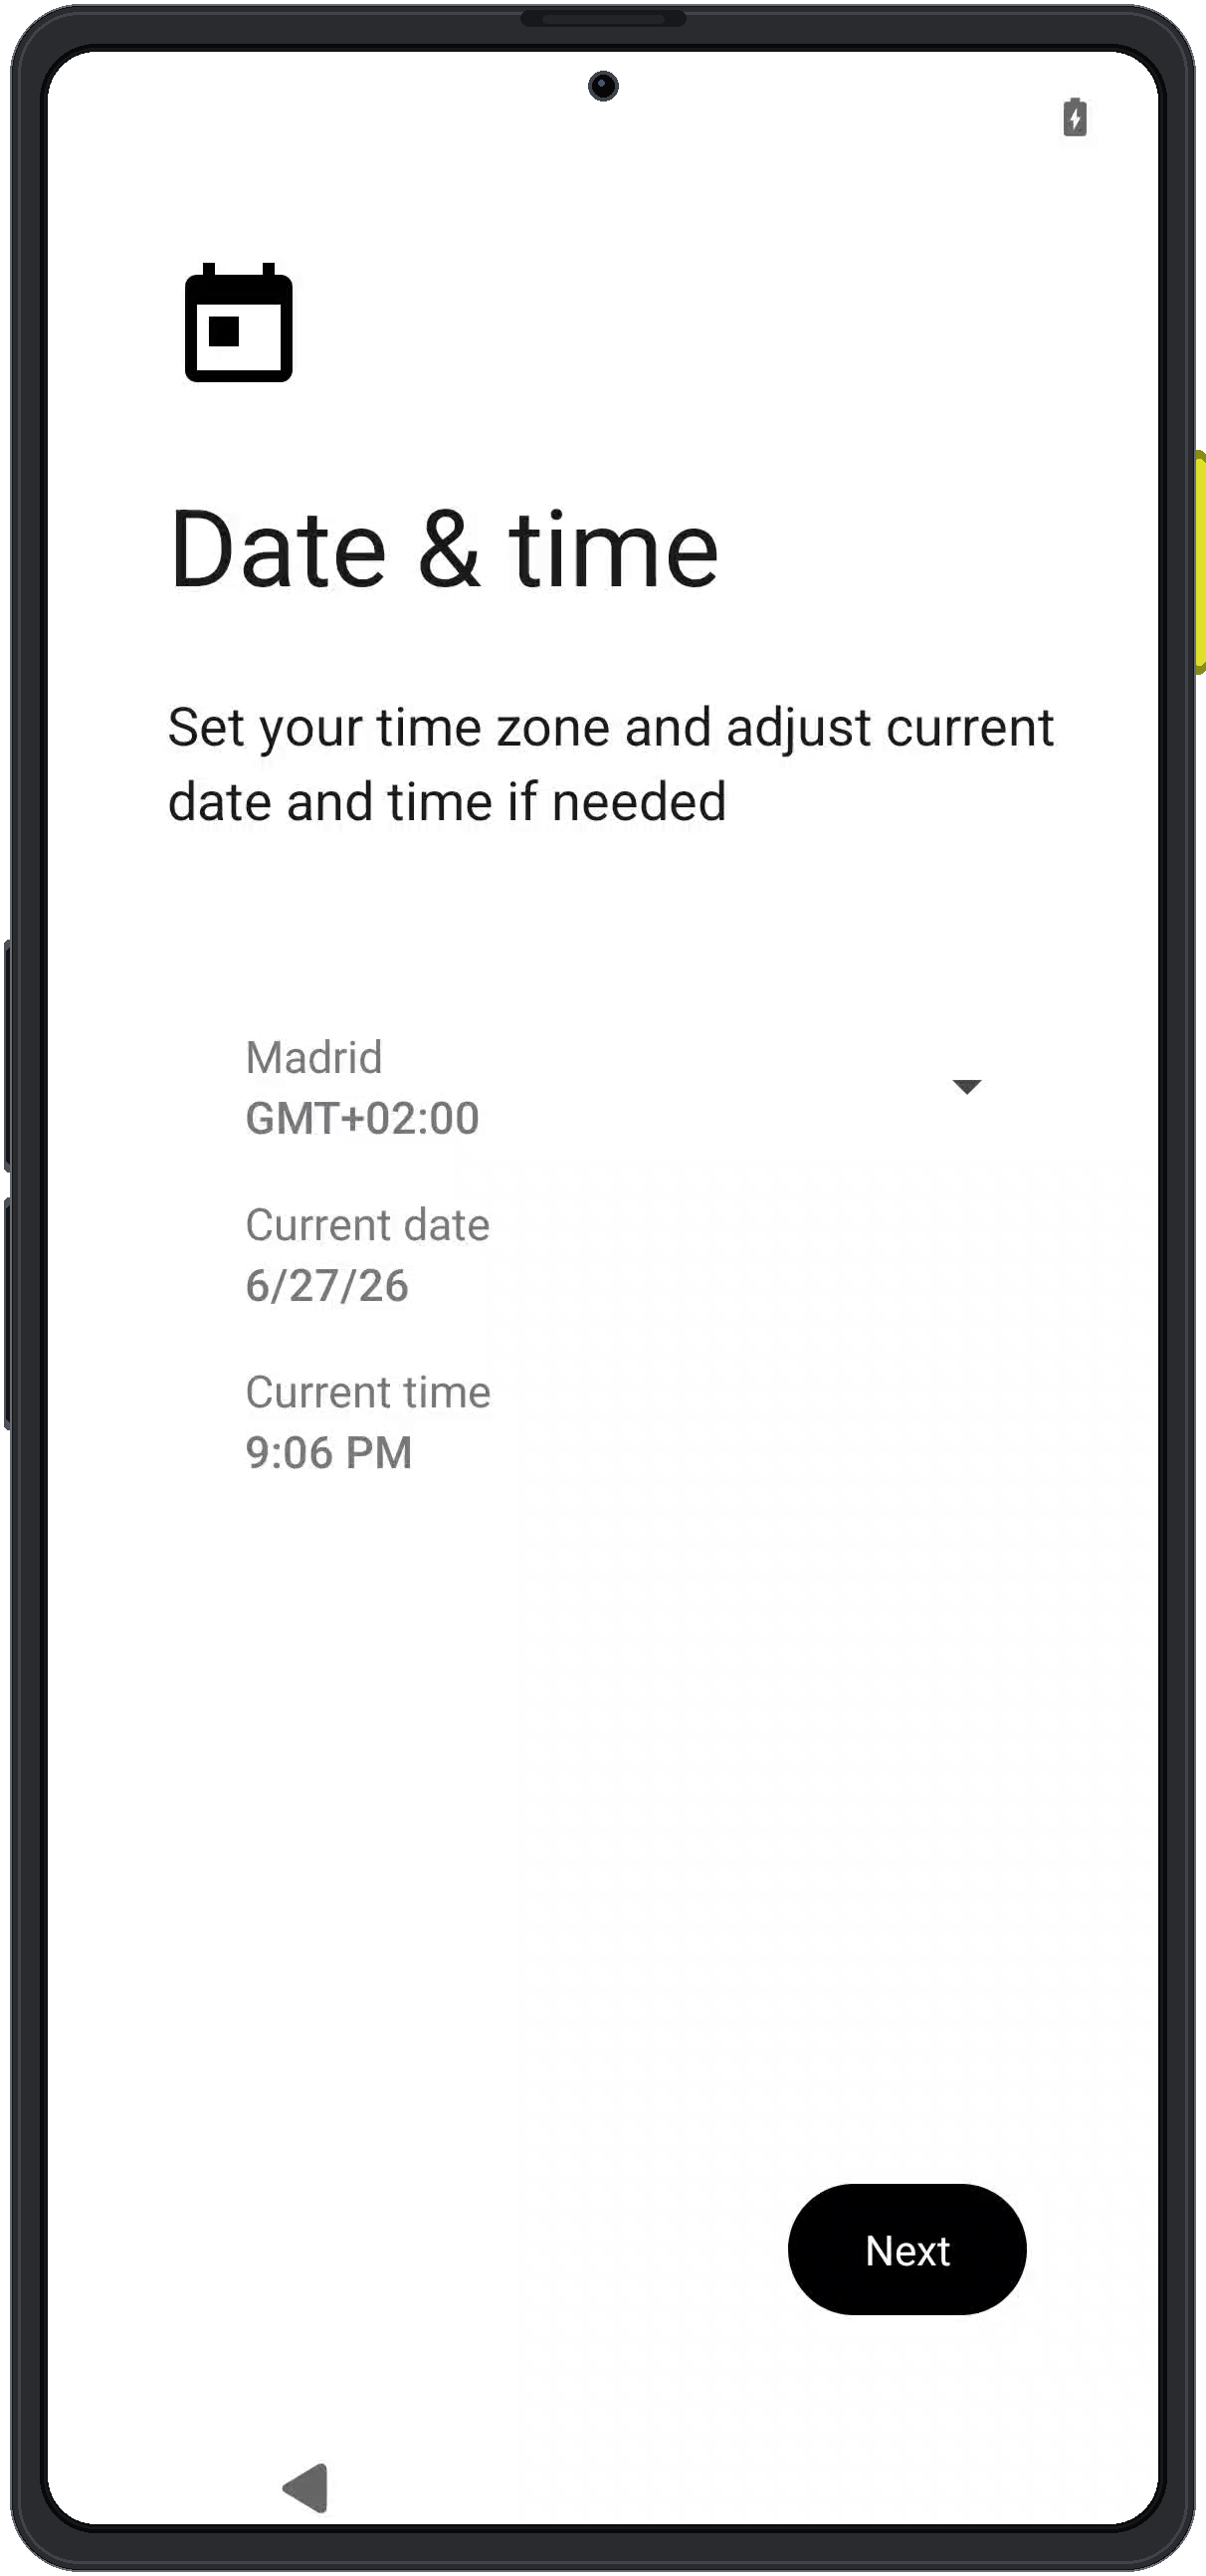
6
Review fingerprint enrollment
Fingerprint enrollment is optional and device-local. Use fingerprint enrollment only when it matches the user or deployment security policy.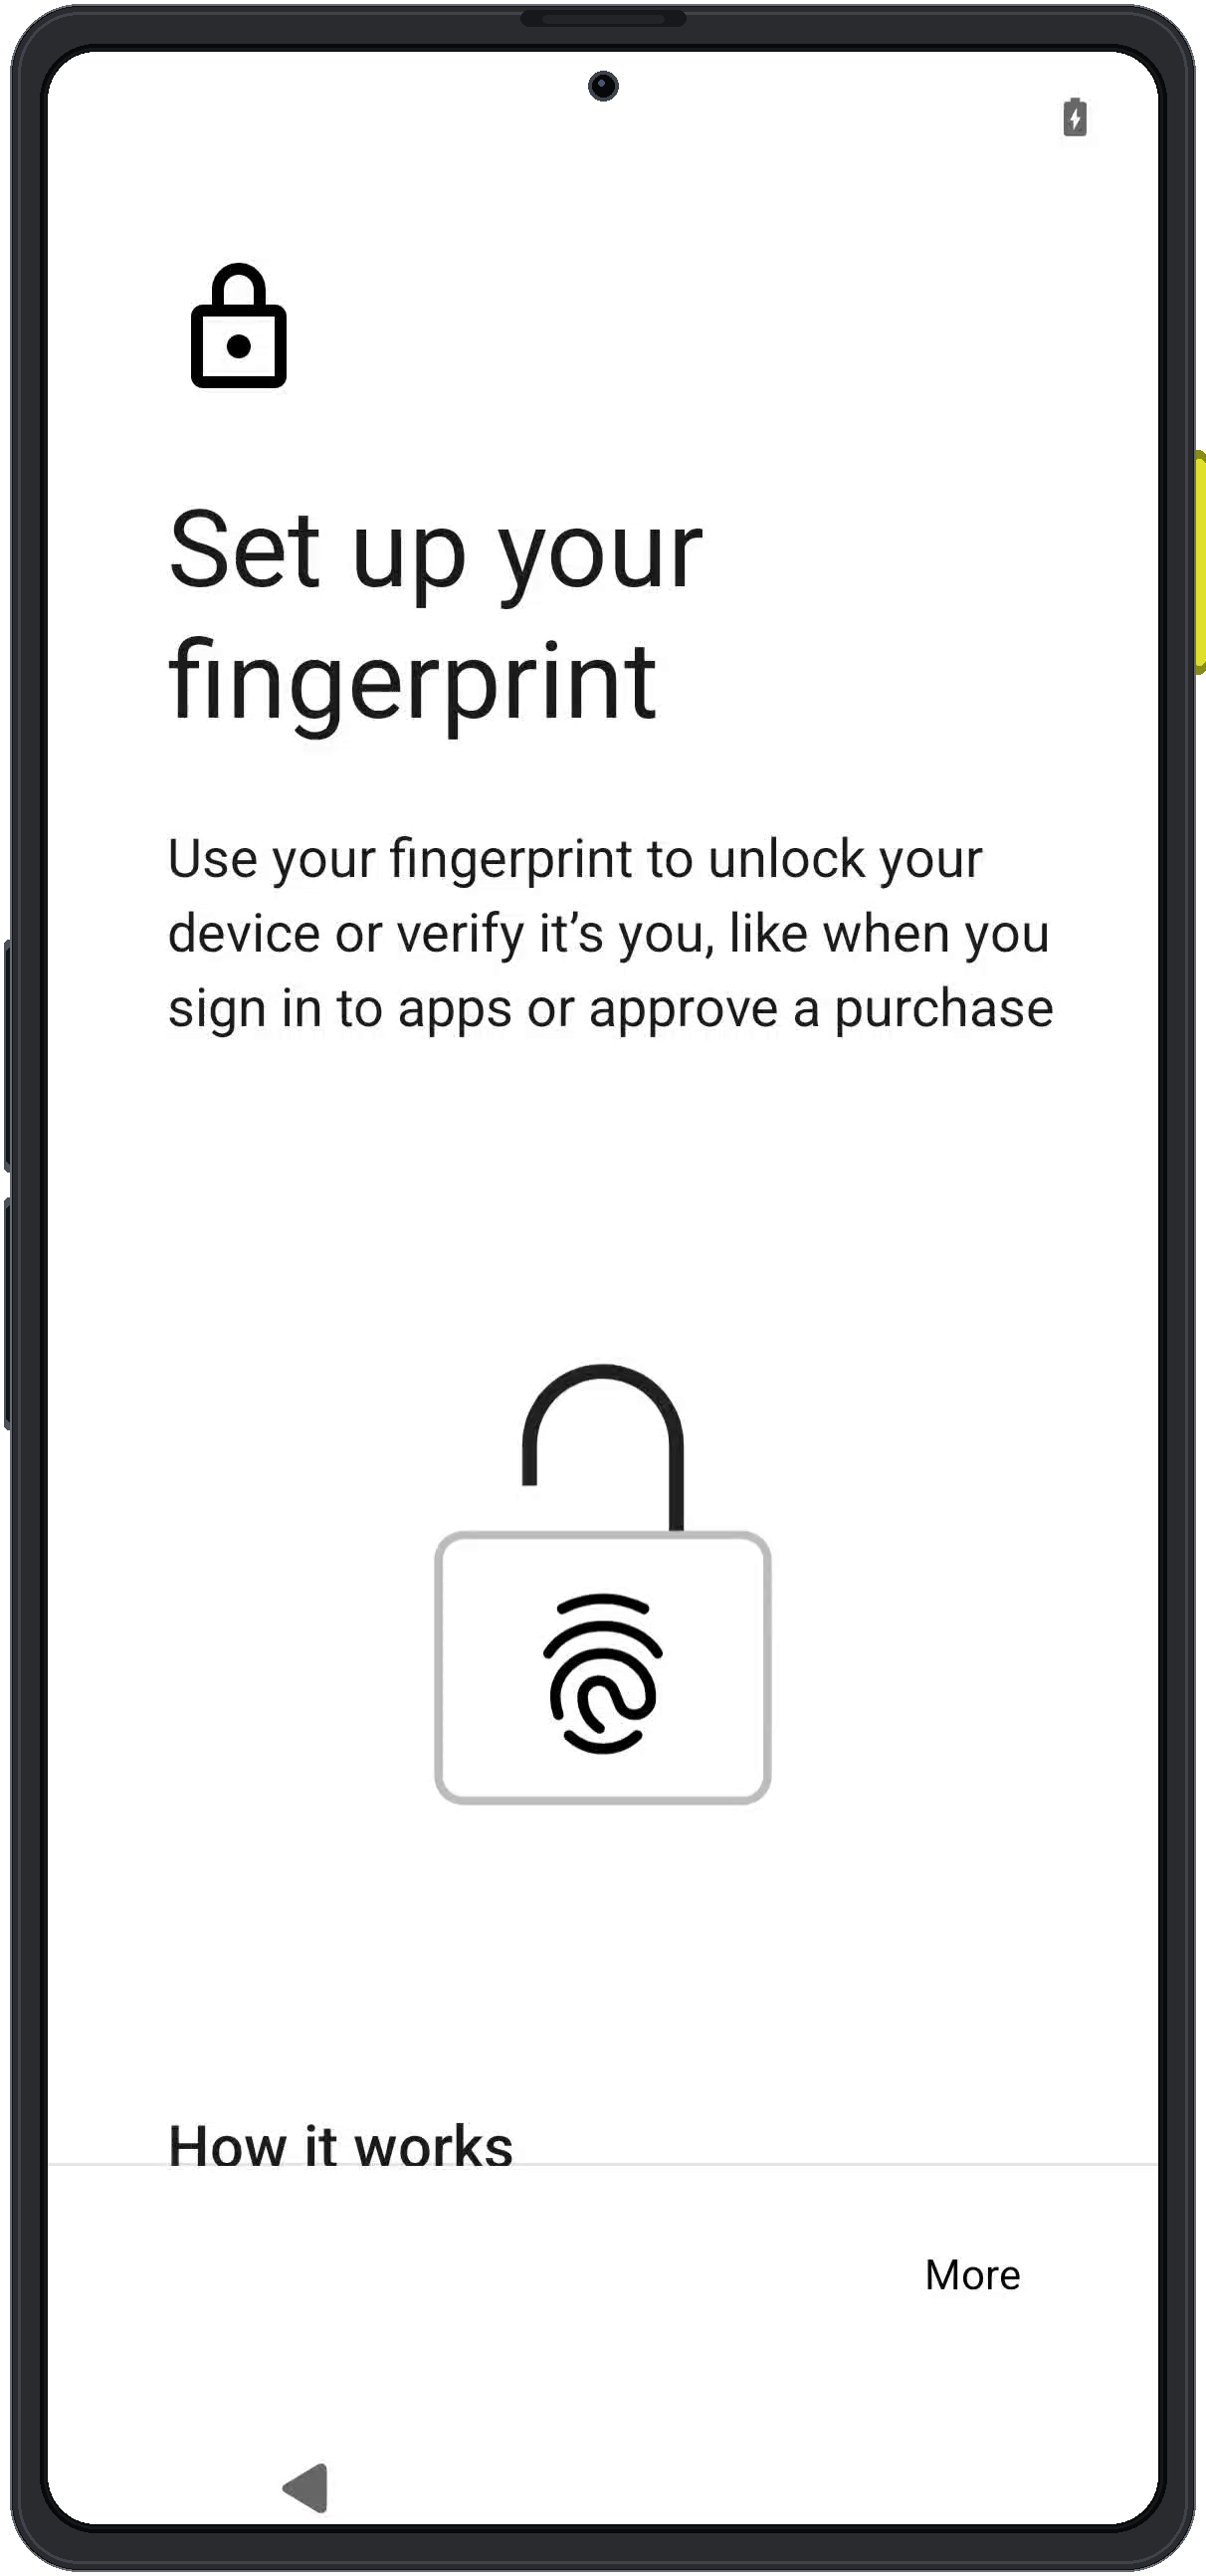
7
Choose appearance
Select the device theme. The theme setting changes local visual appearance only; it does not change Enigm App cryptography, Device Trust, secure messaging, or administrative boundaries.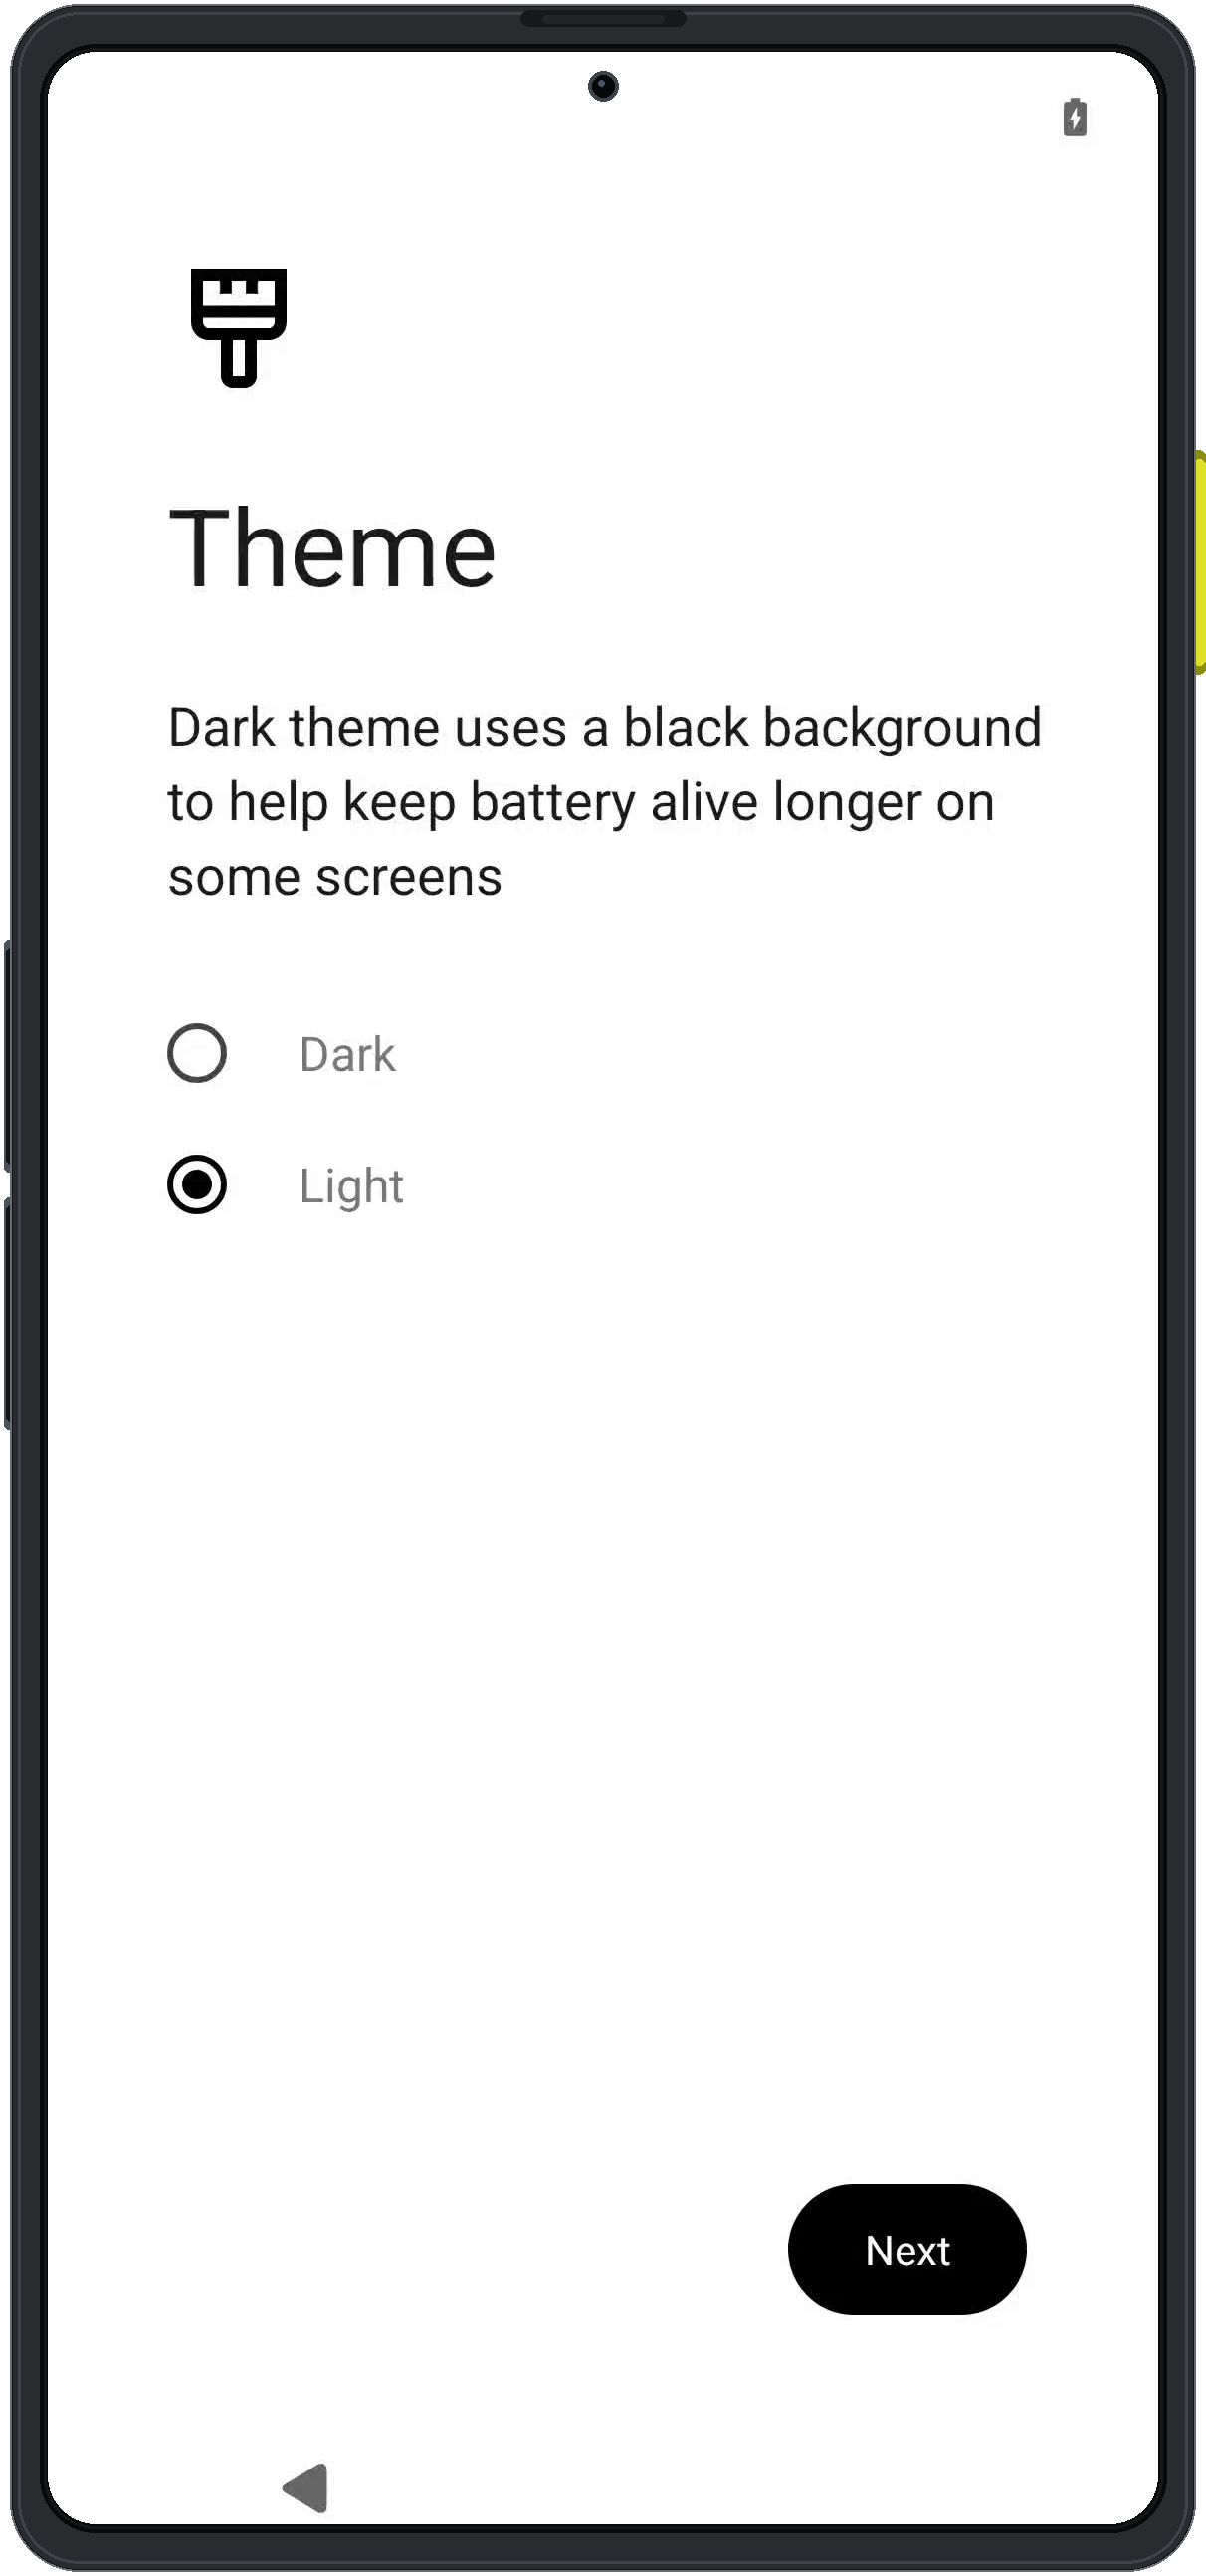
8
Start the Enigm experience
The final setup screen starts the Enigm OS device experience. After this point, the device enters the configured Enigm OS environment.
9
Open Enigm
The launcher shows Enigm OS Trust and device security state. Tap the Enigm icon at the bottom of the screen to open Enigm.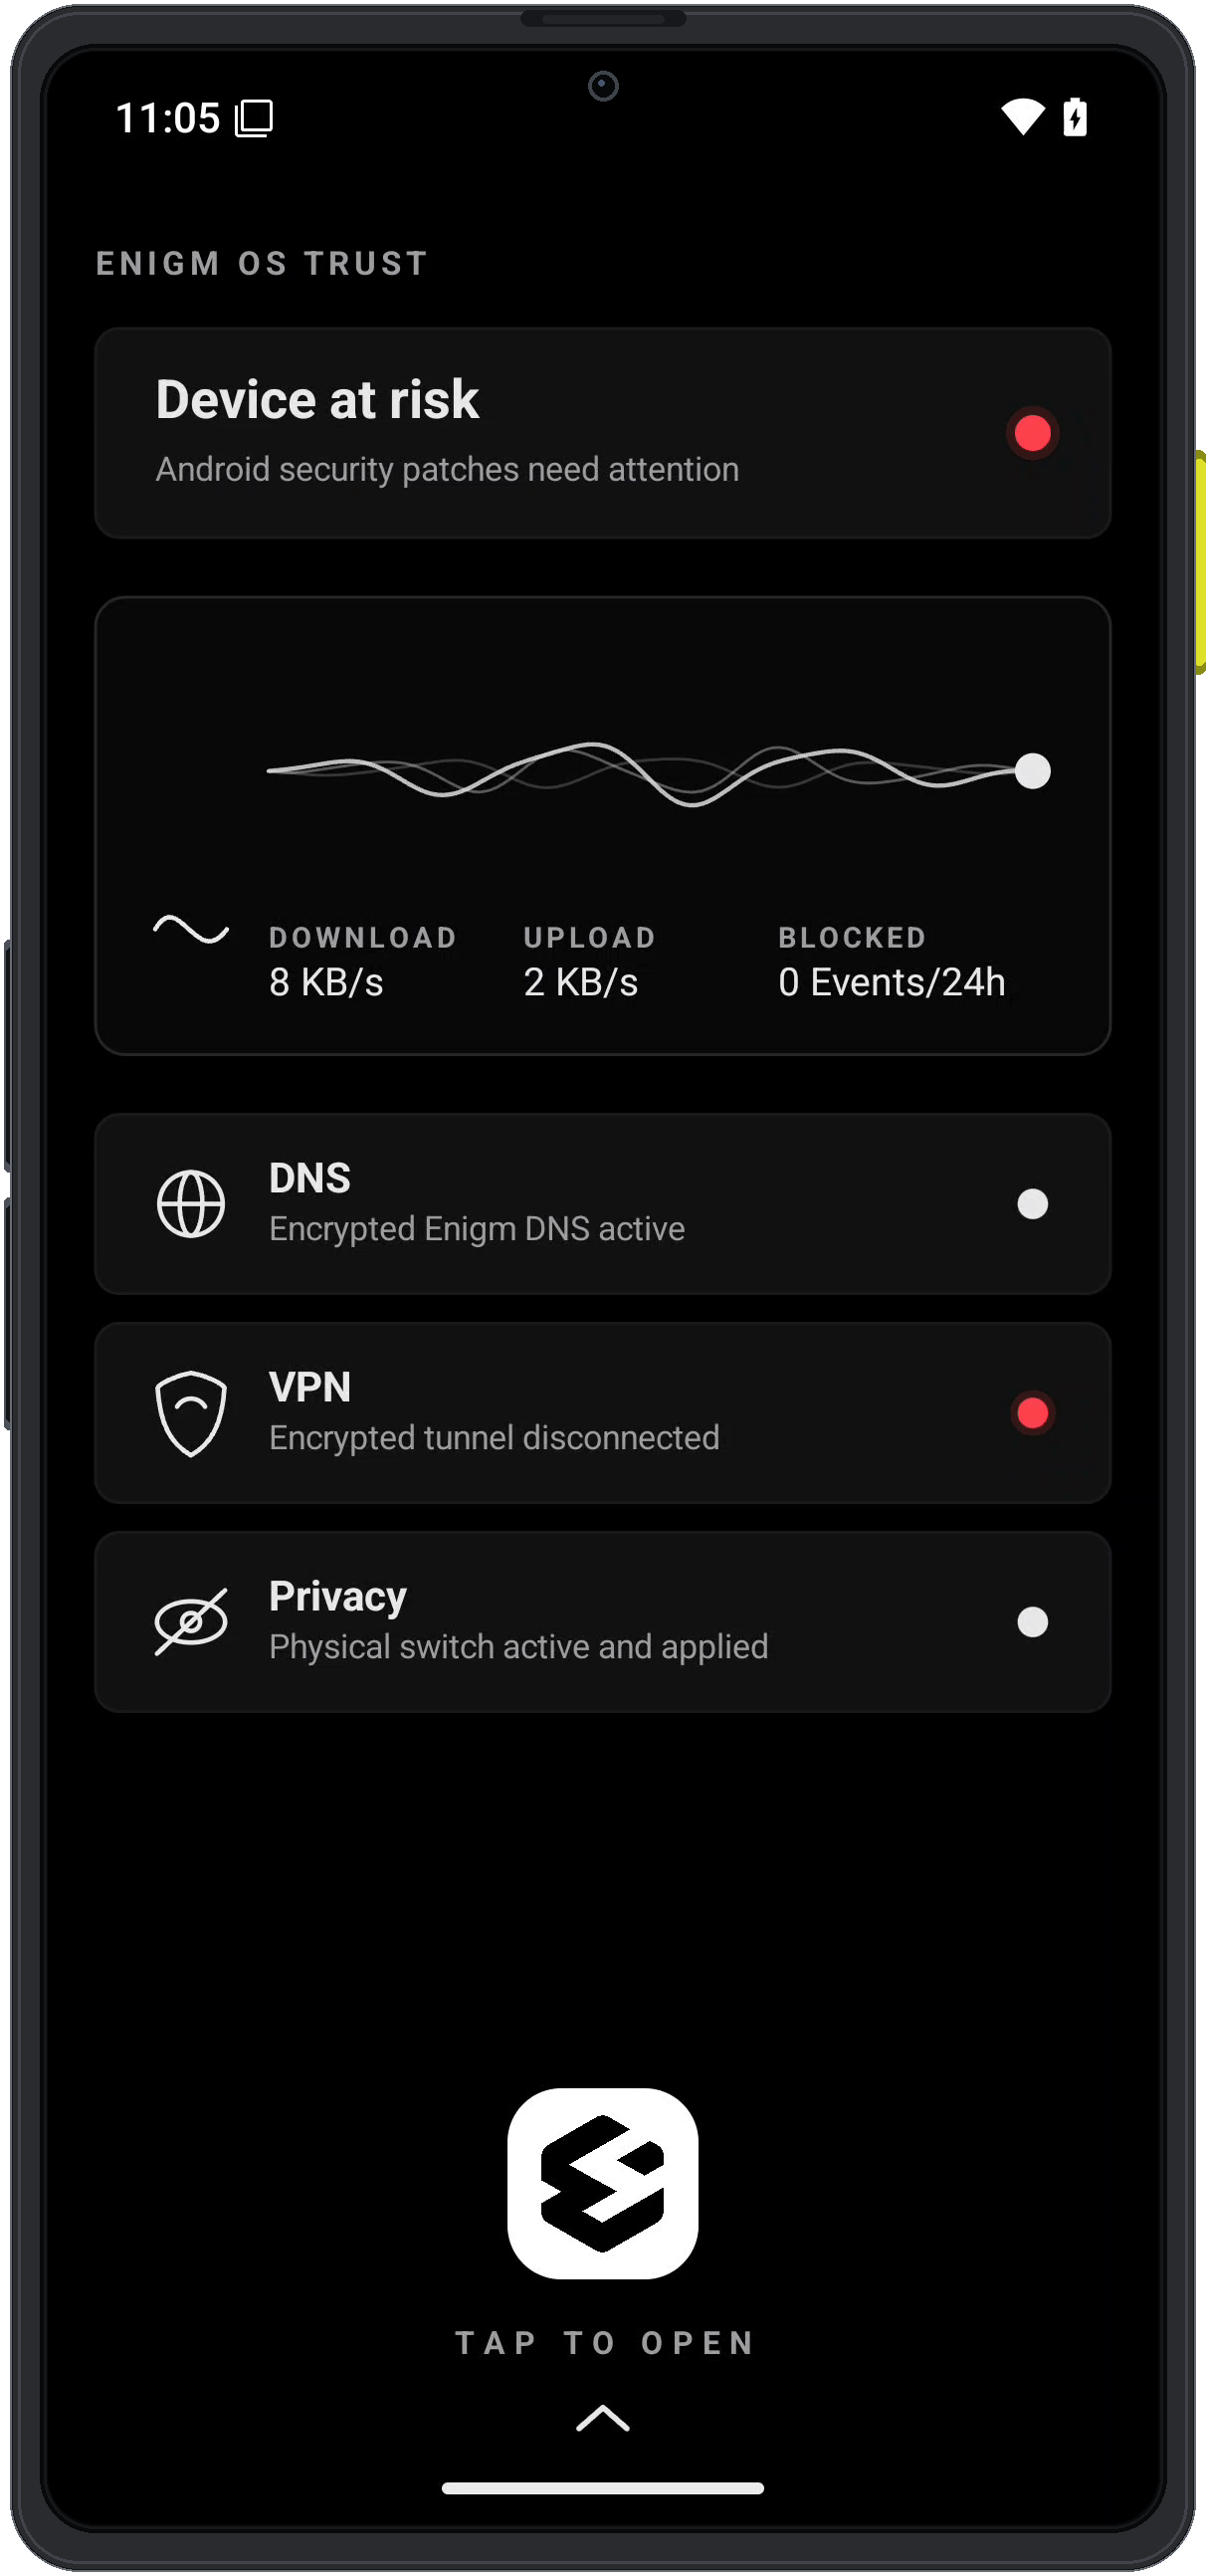
Associate Enigm eSIM
After the setup wizard is complete, Enigm eSIM can be associated from Enigm OS settings. The eSIM QR code is shown in Enigm Command after the Enigm eSIM purchase flow is completed. If the QR code cannot be scanned, use the manual entry option shown by the device setup flow and enter the eSIM details provided through Enigm Command.1
Open device settings
Pull down the system controls and select the settings icon at the bottom of the panel.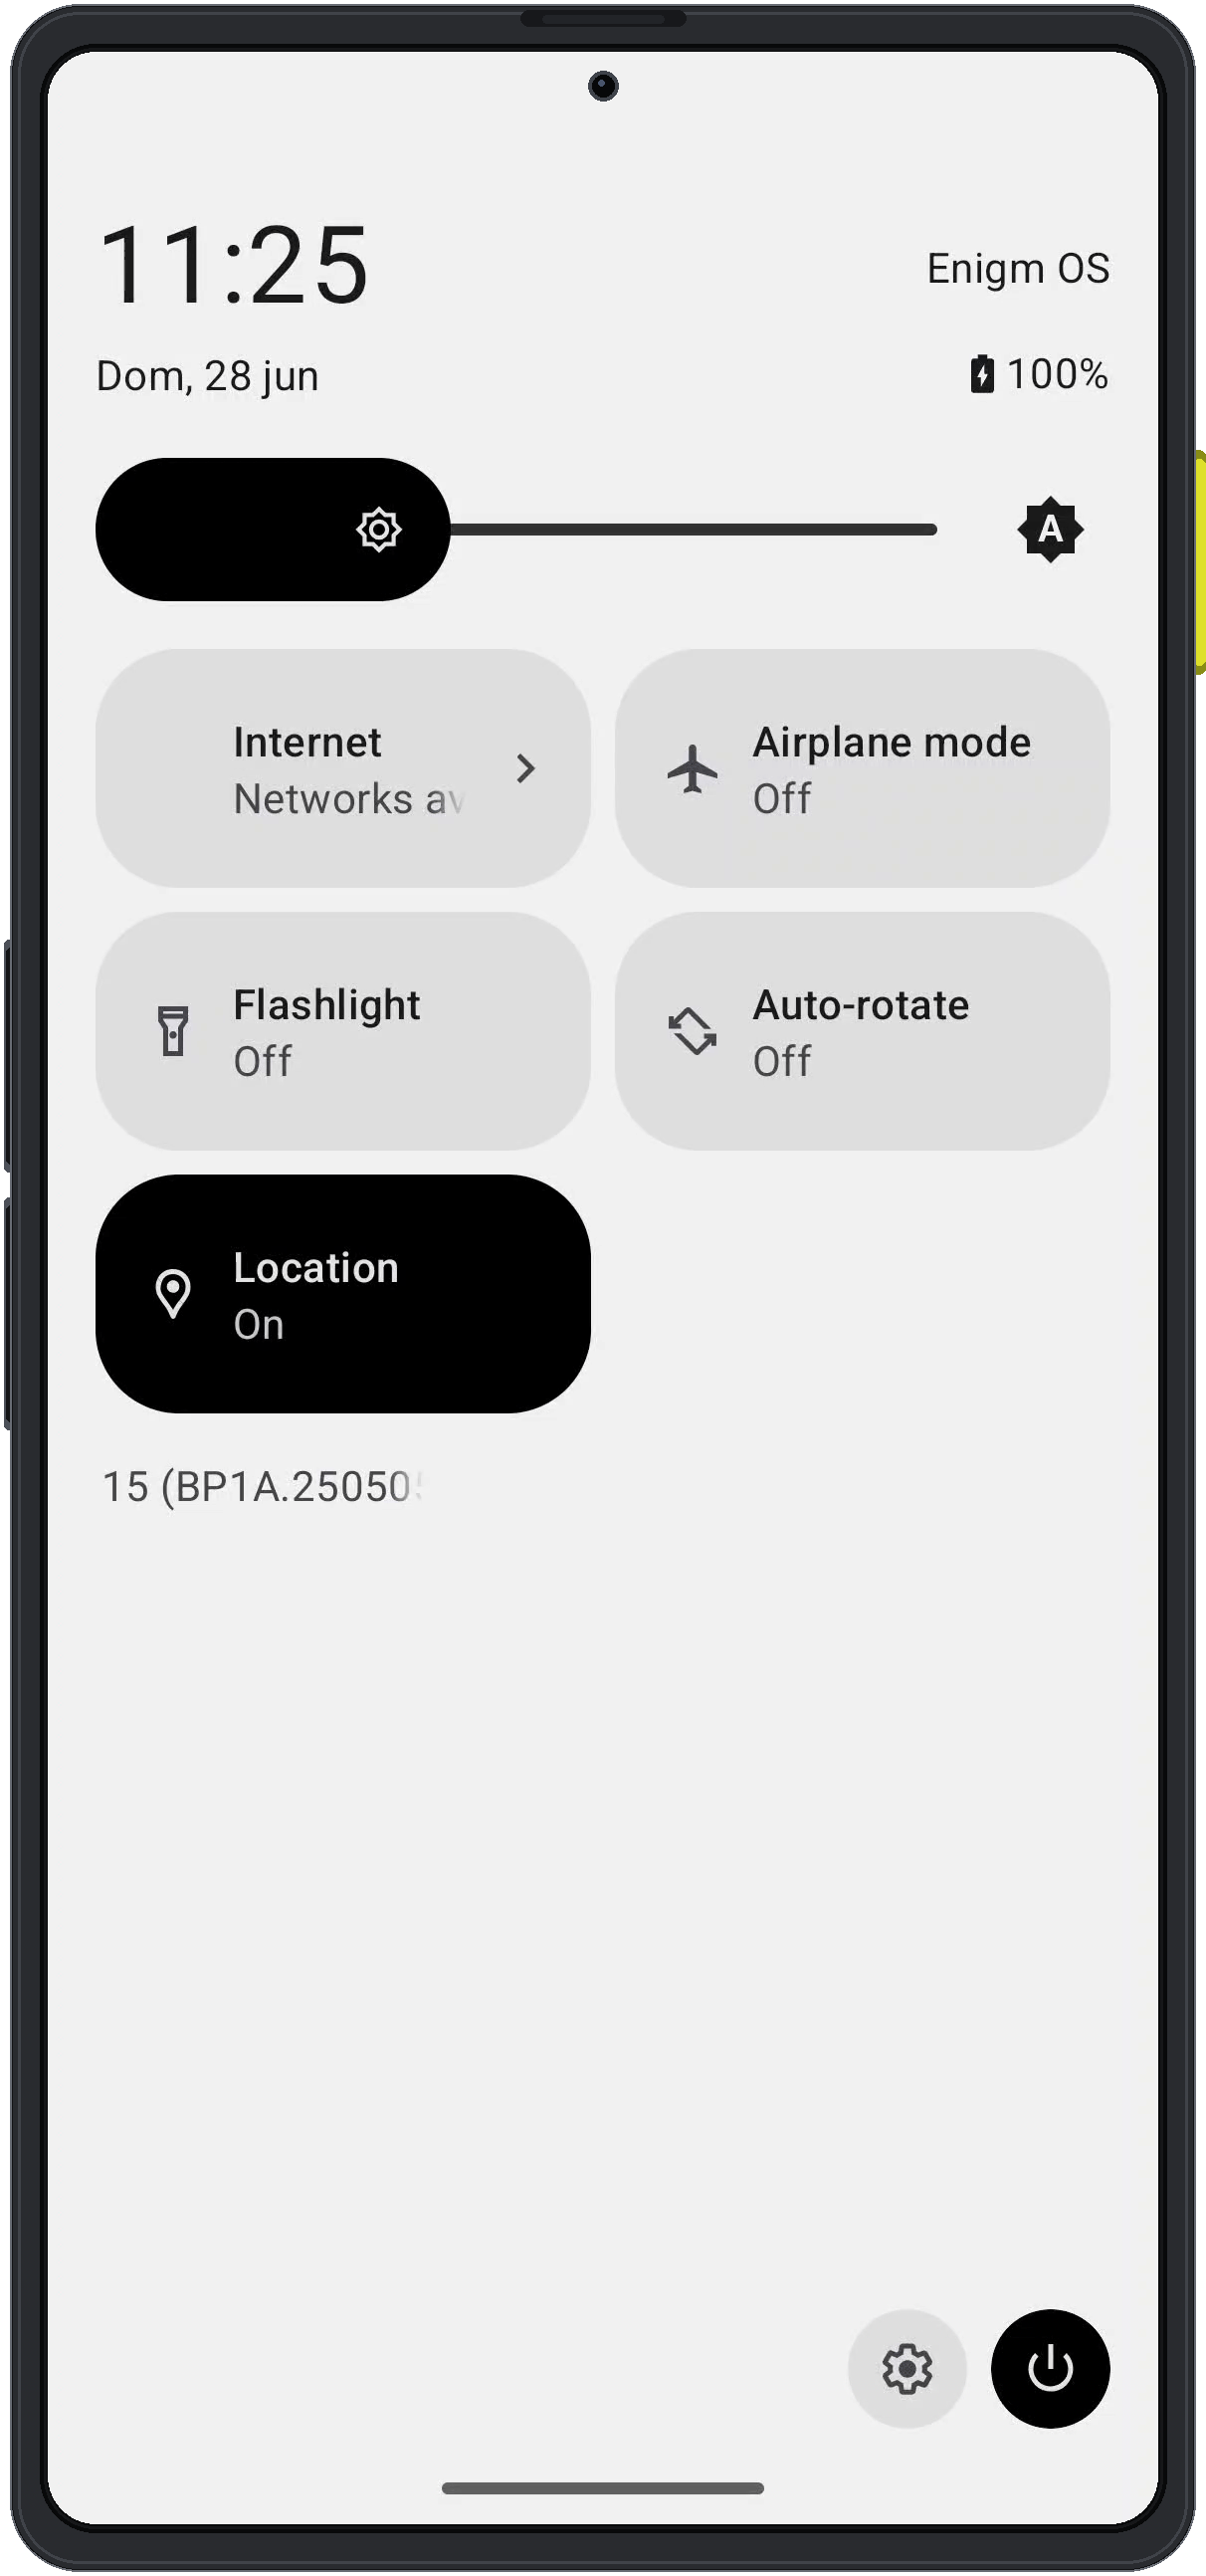
2
Open Network and Internet
In settings, select Network & internet to manage Wi-Fi, mobile connectivity, SIMs, VPN state, and private DNS.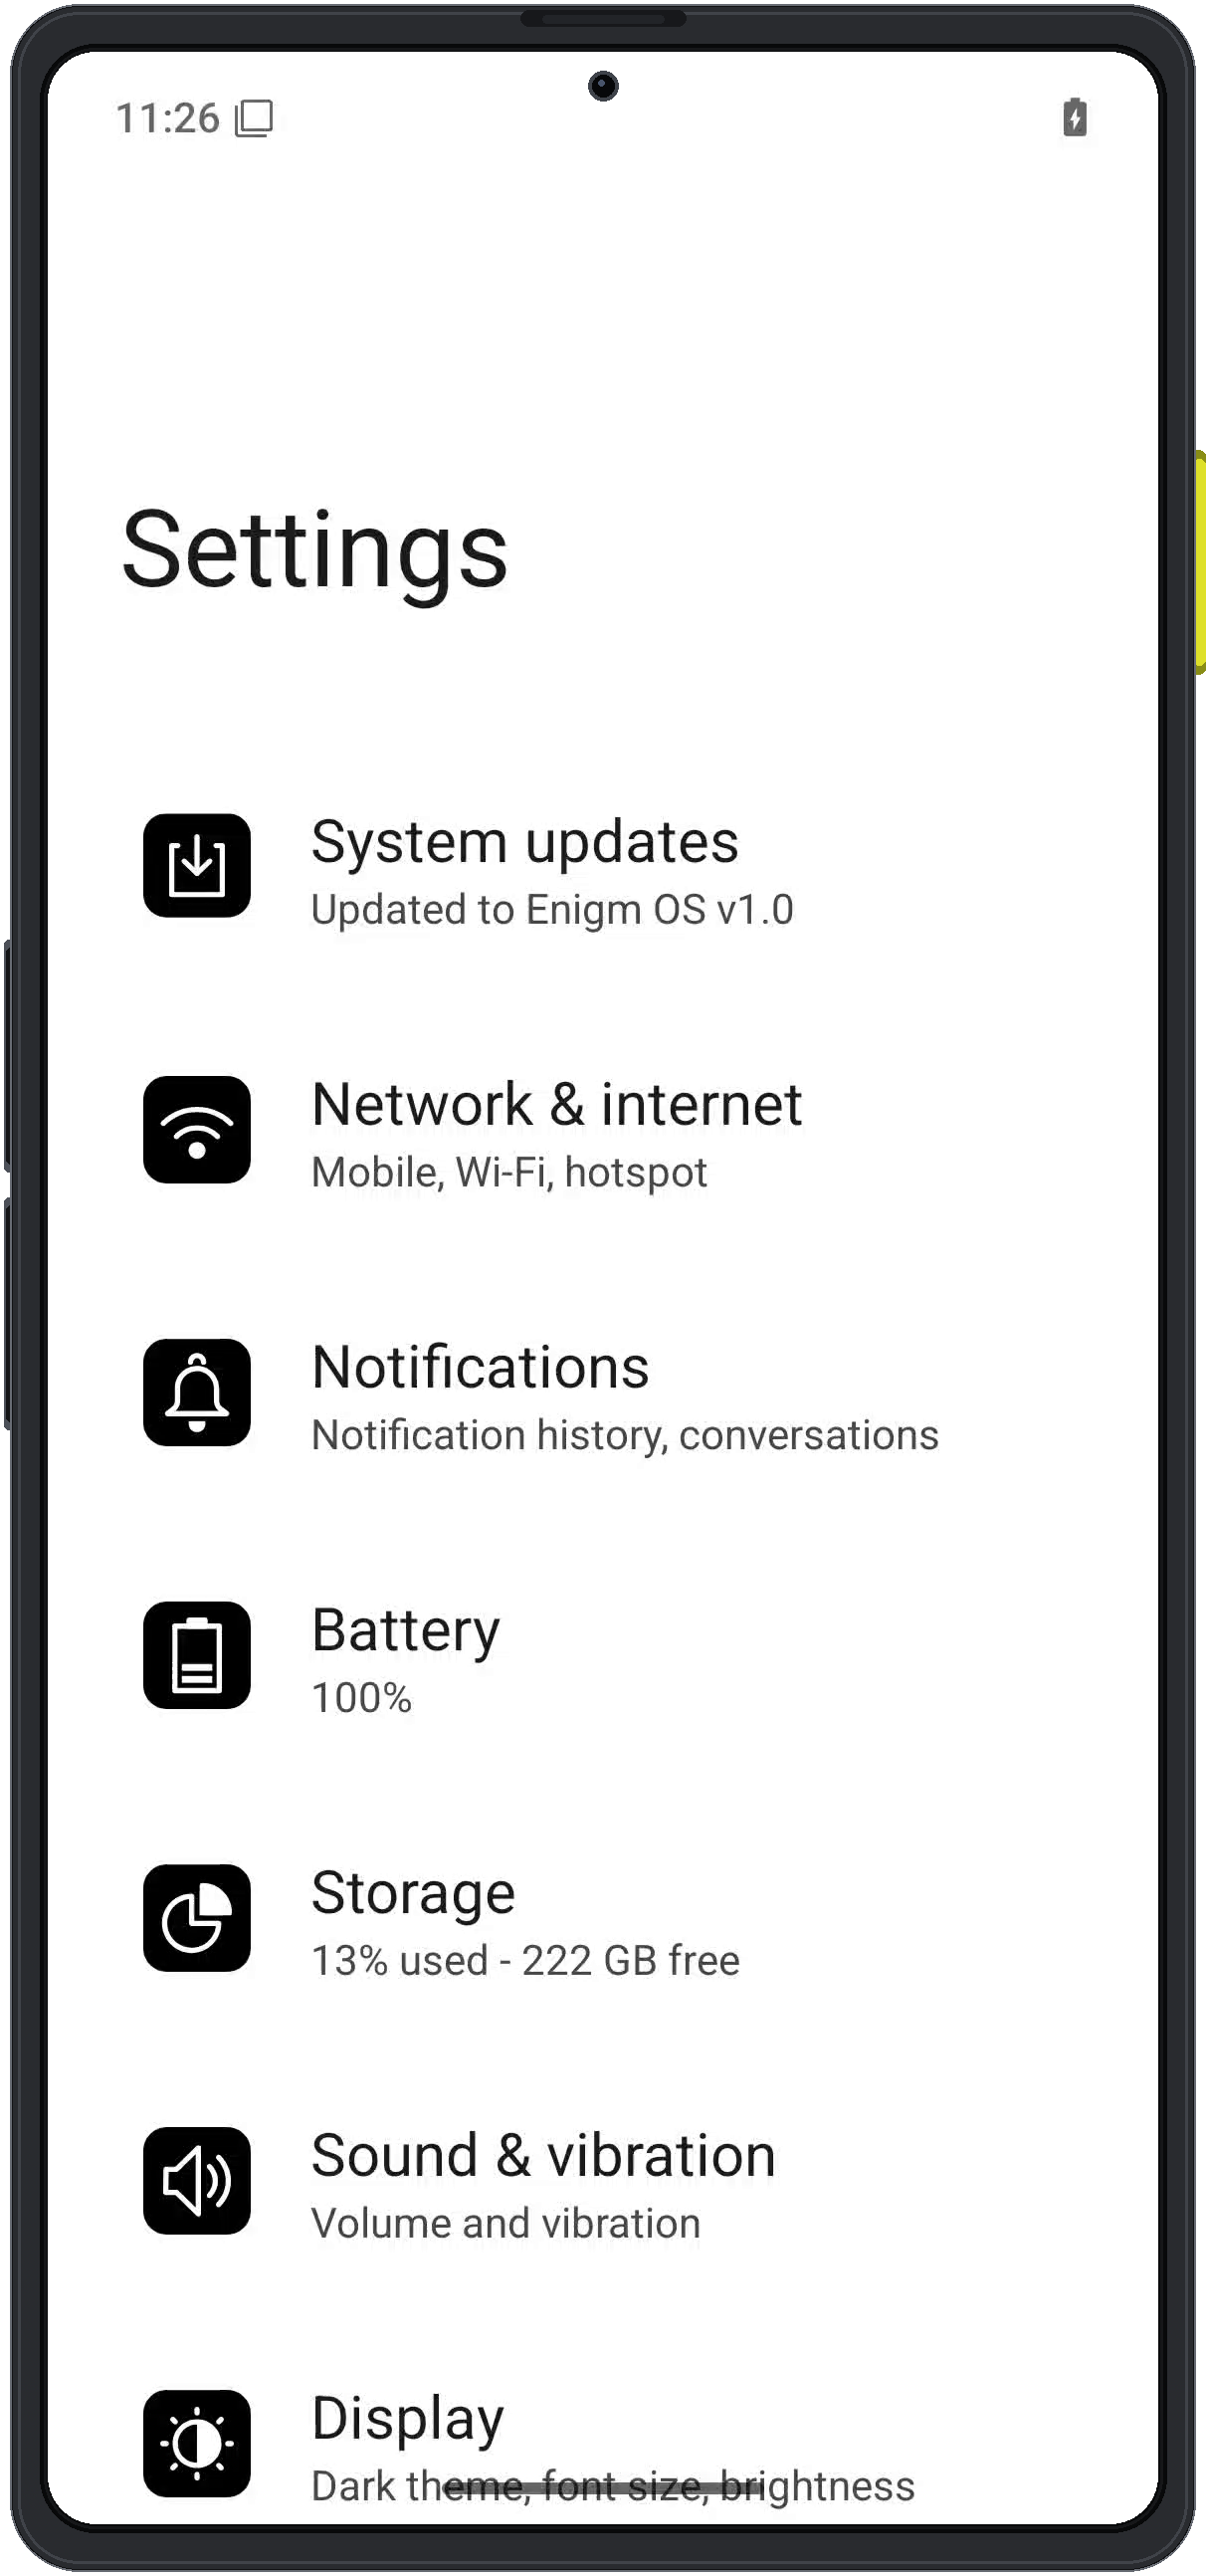
3
Open SIMs
Select SIMs from the Network & internet screen. This is where the device starts the mobile network association flow.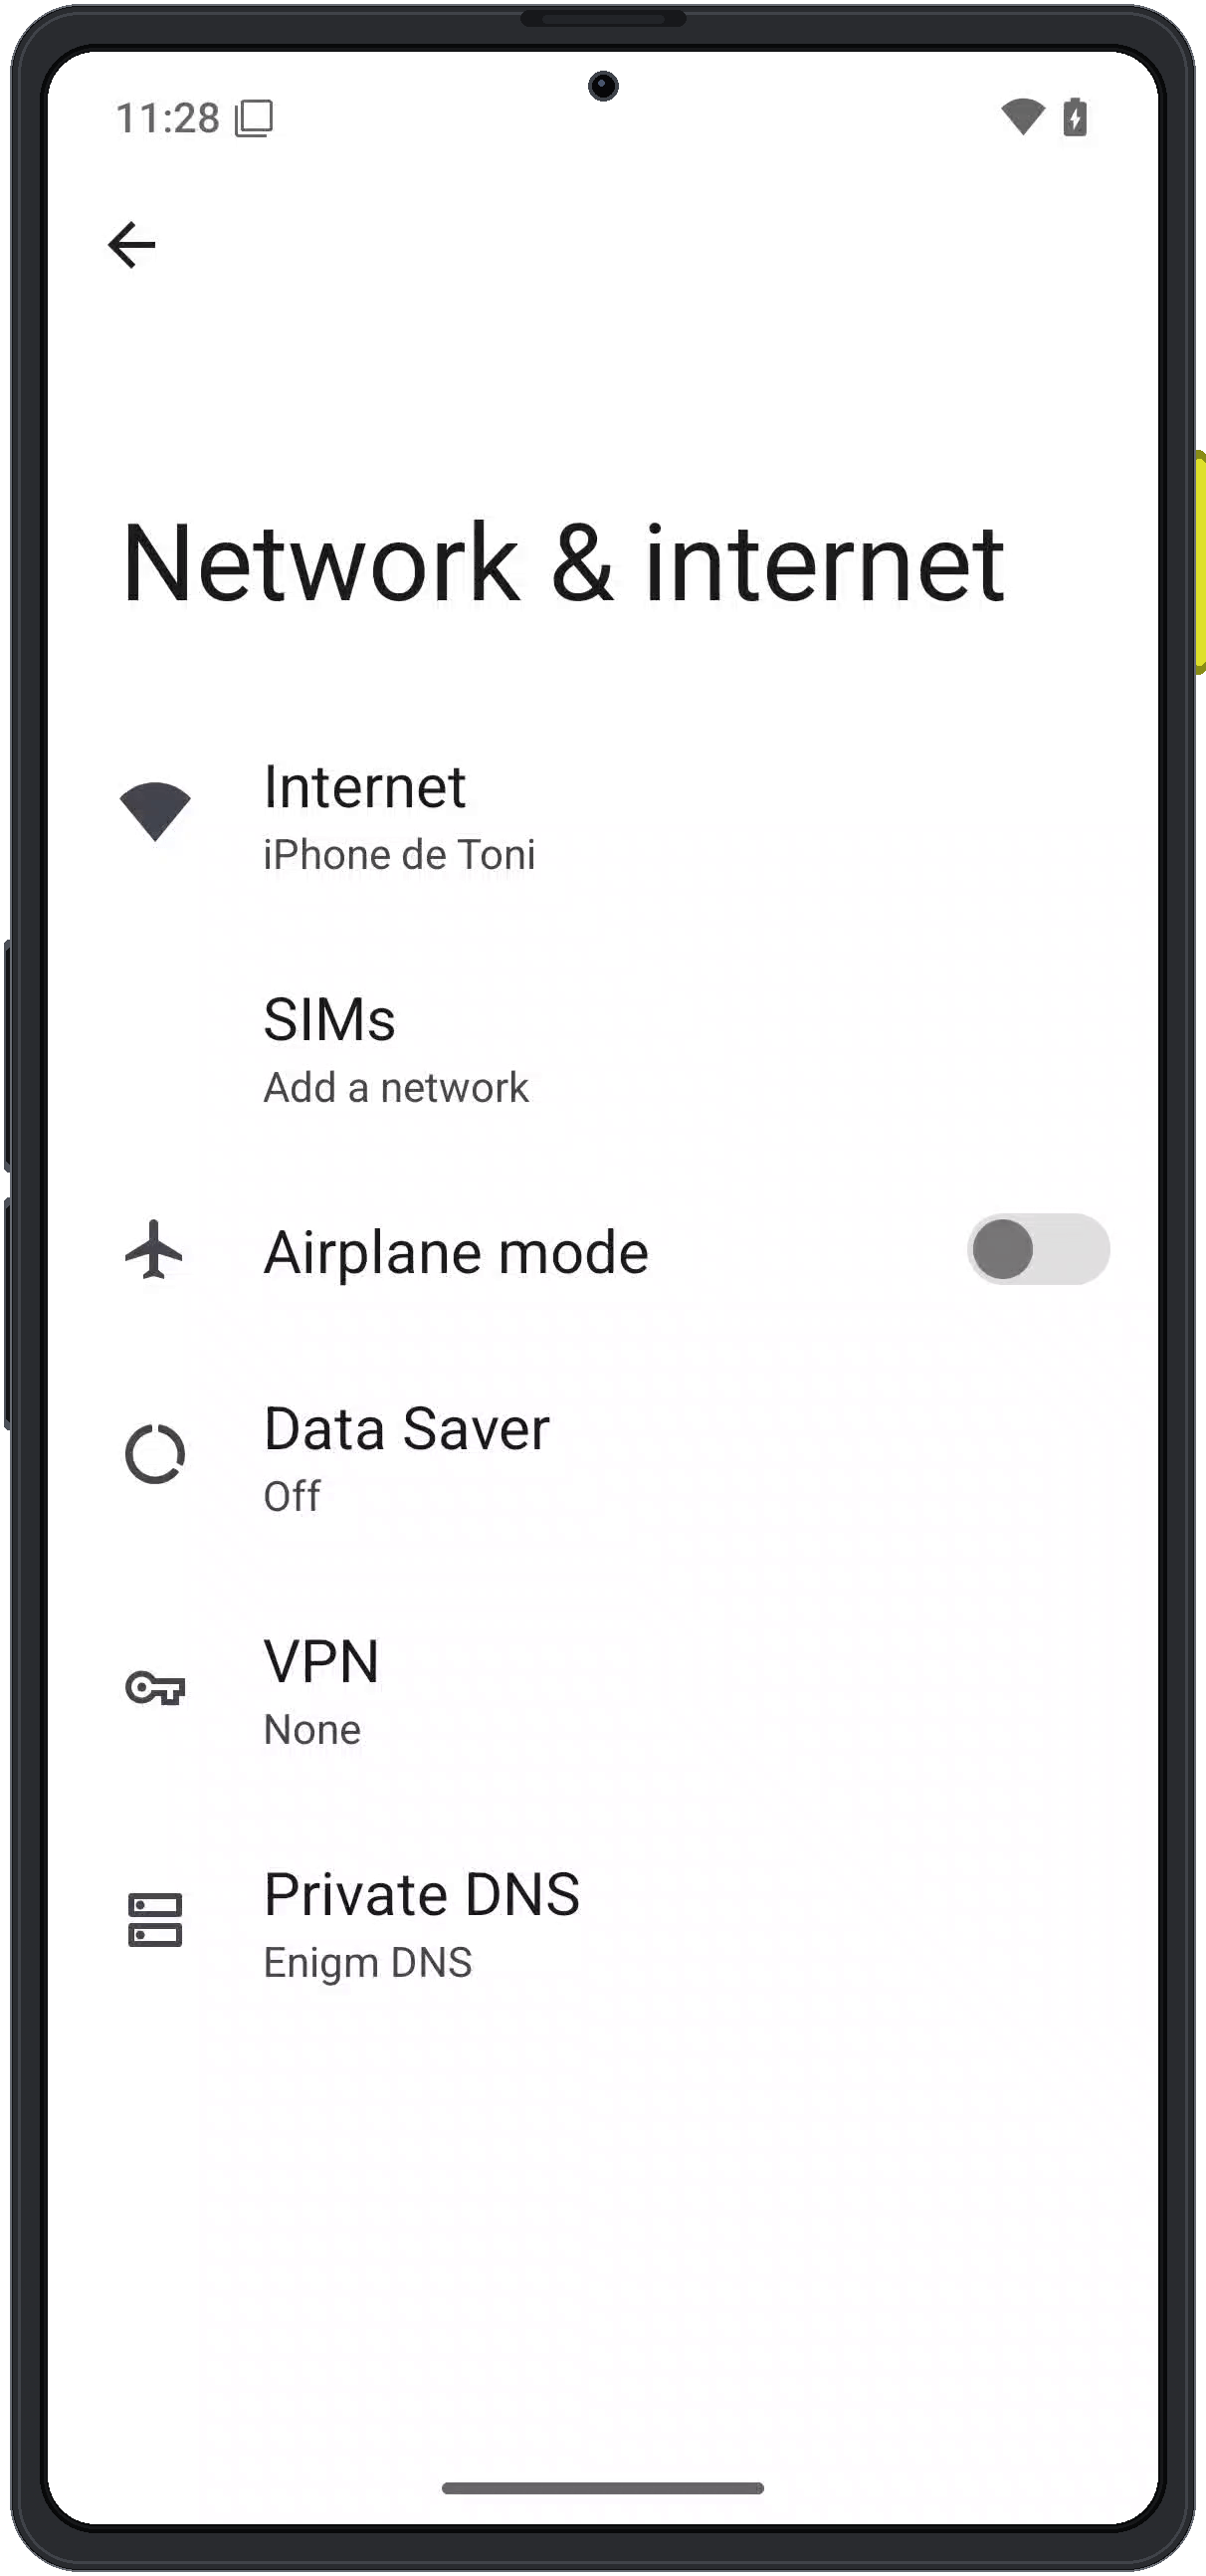
4
Start eSIM setup
Select Set up an eSIM. The device will prepare the eSIM association workflow.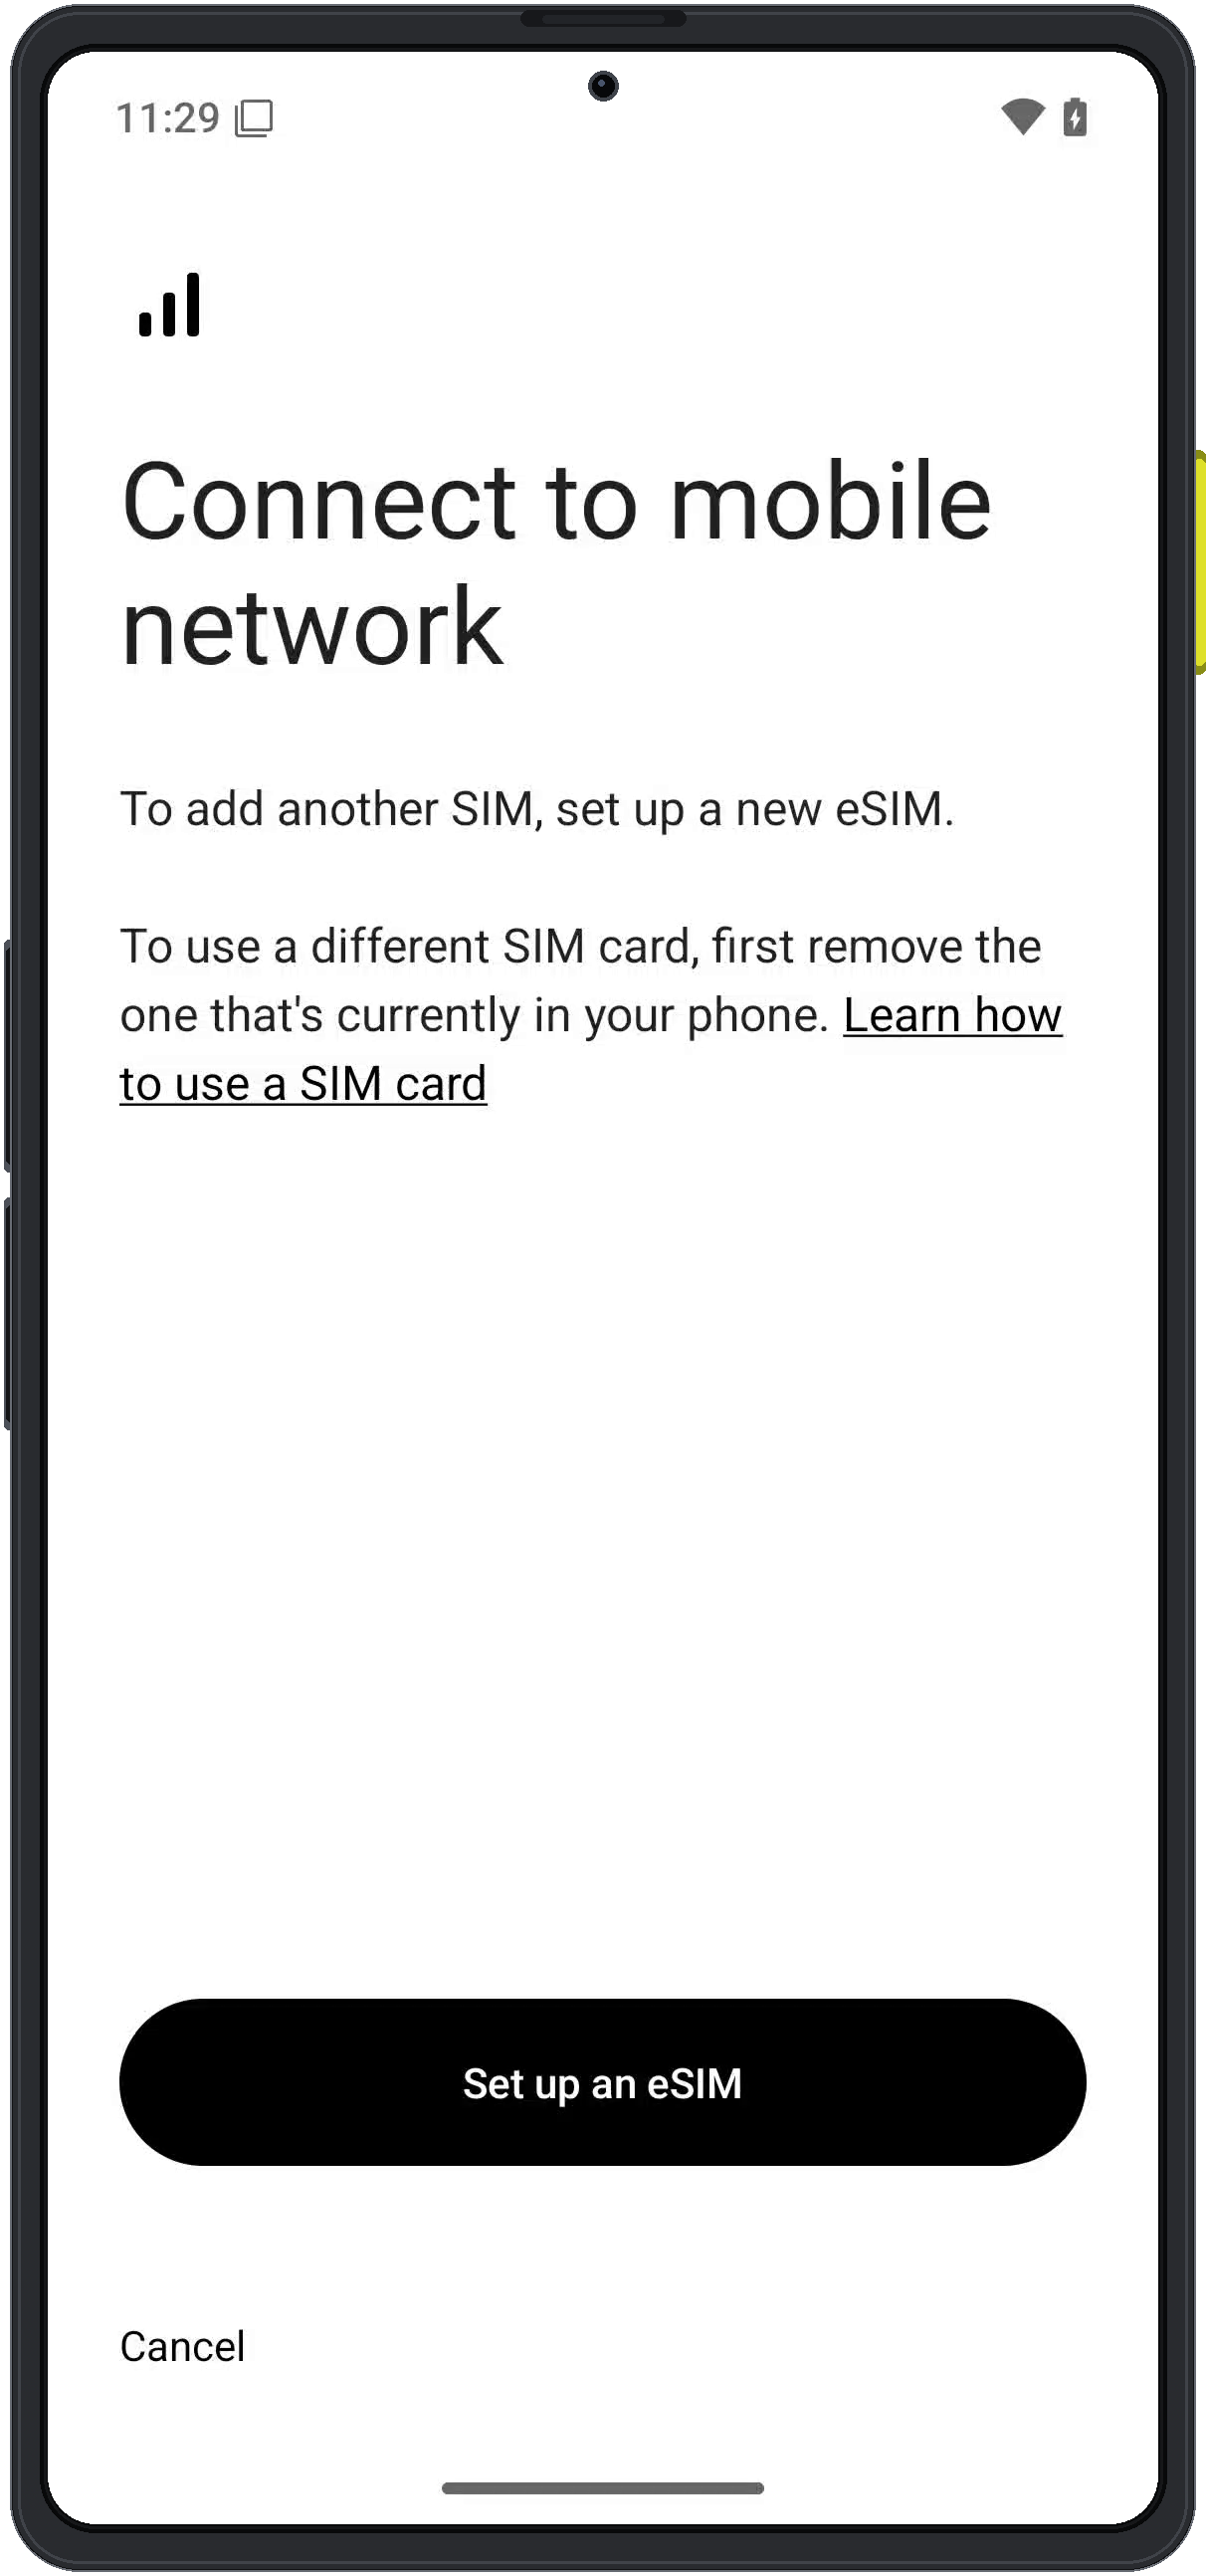
5
Scan the Enigm eSIM QR code
Scan the Enigm eSIM QR code shown in Enigm Command. The QR code is generated as part of the Enigm eSIM management flow after purchase.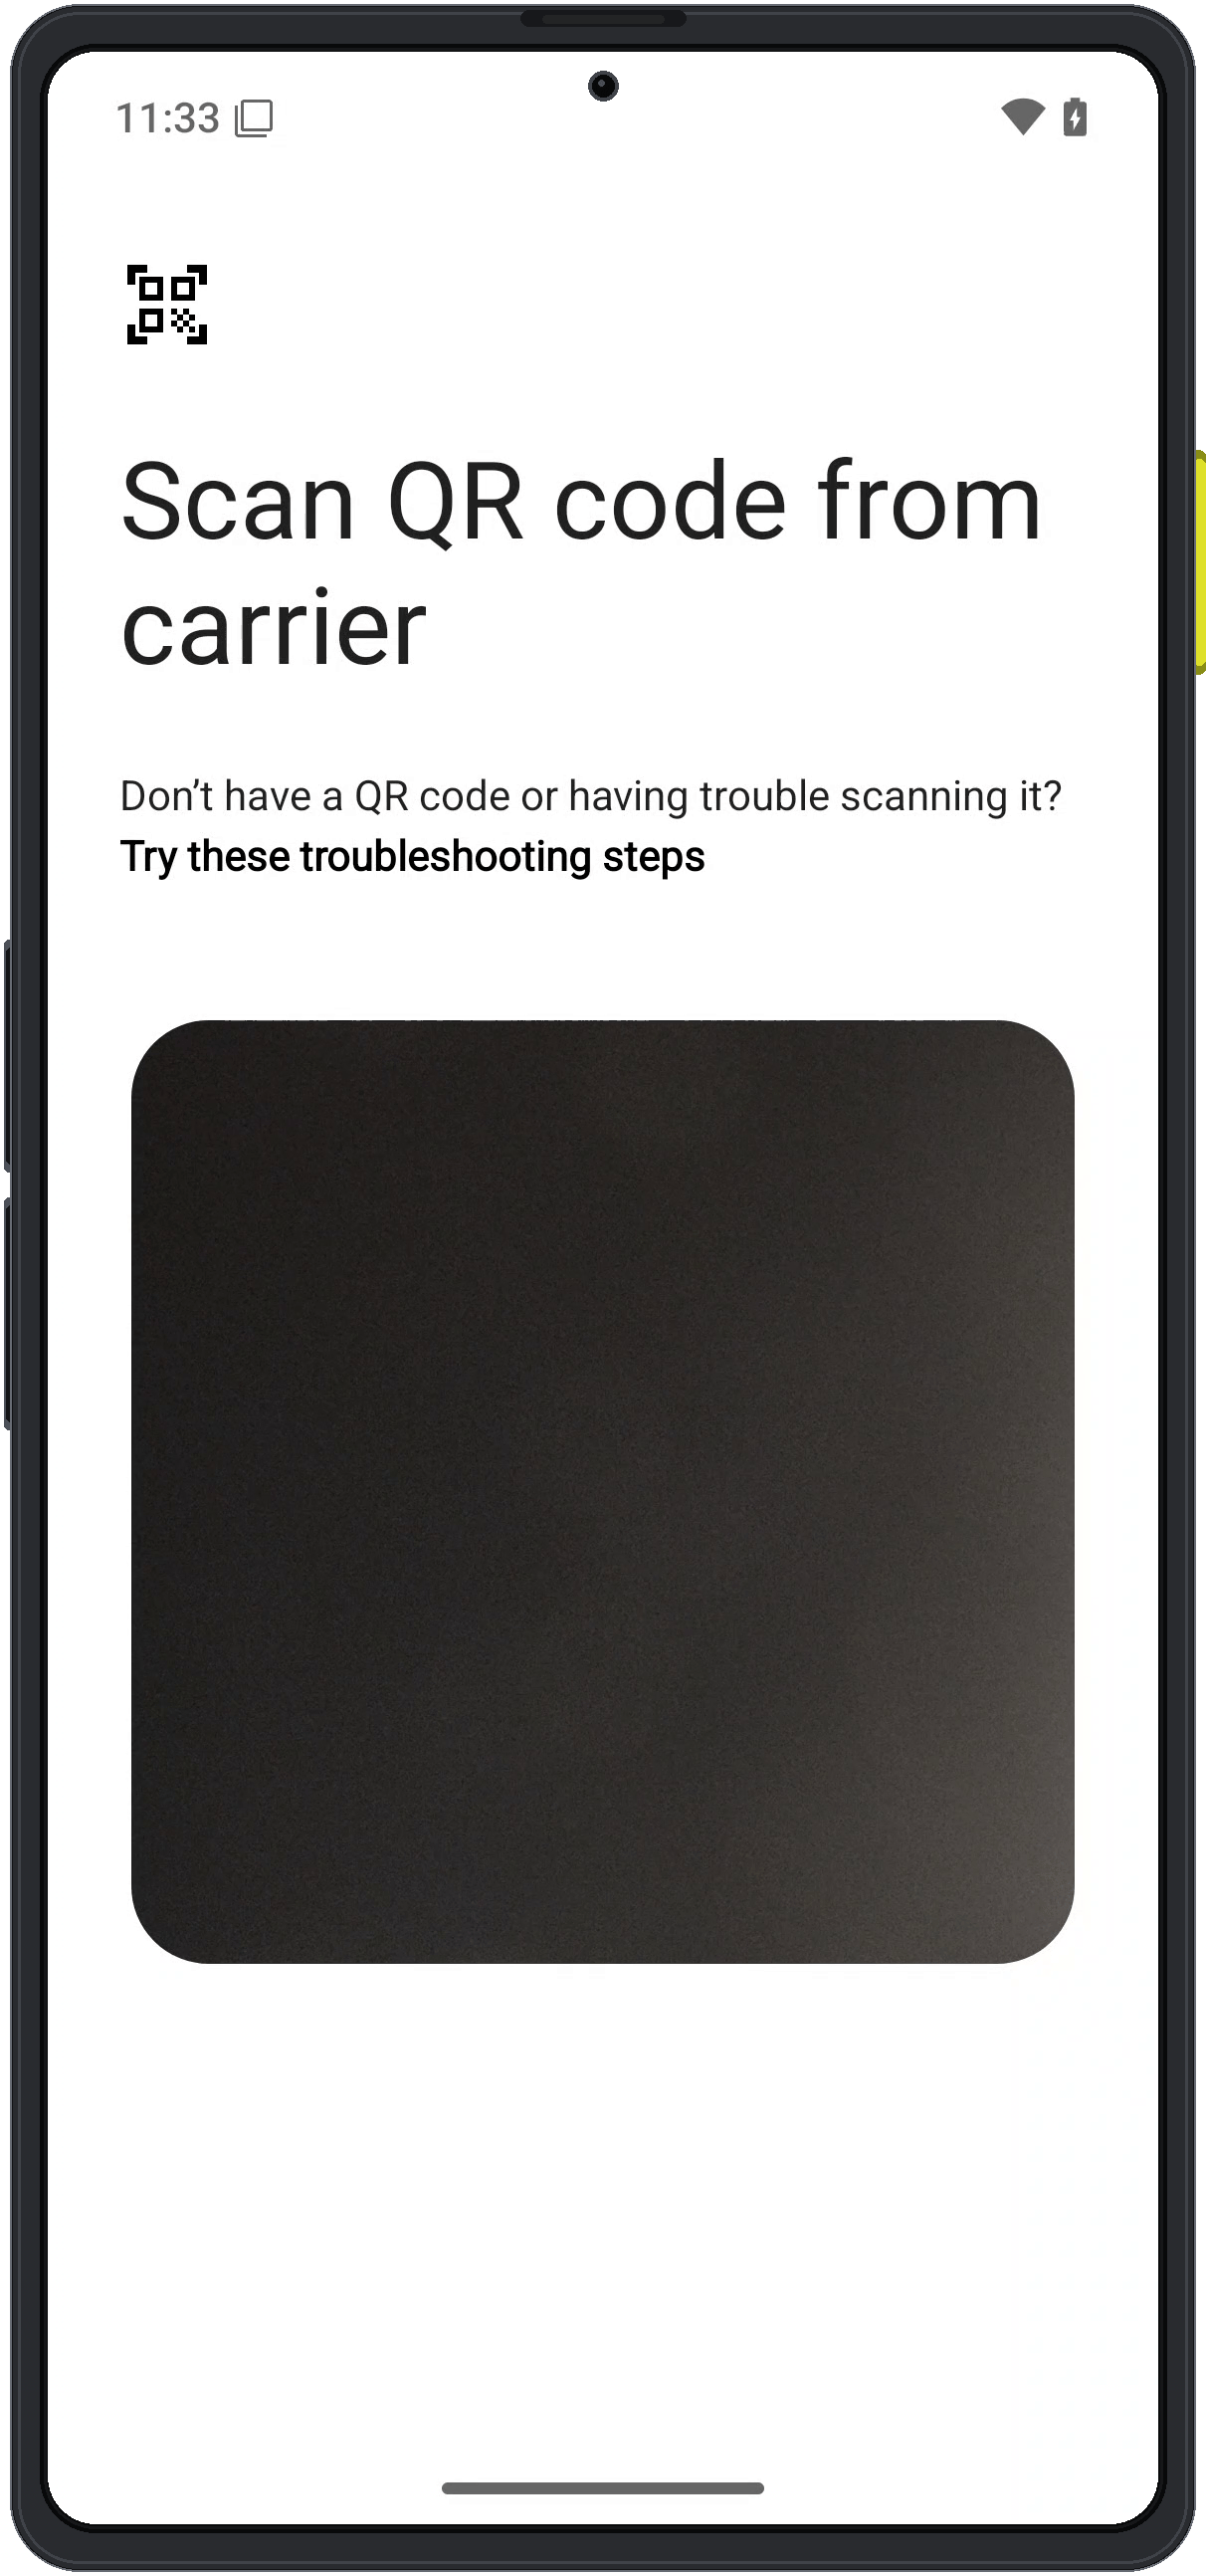
6
Use manual entry if needed
If scanning is not possible, use the manual entry option and enter the eSIM details shown in Enigm Command.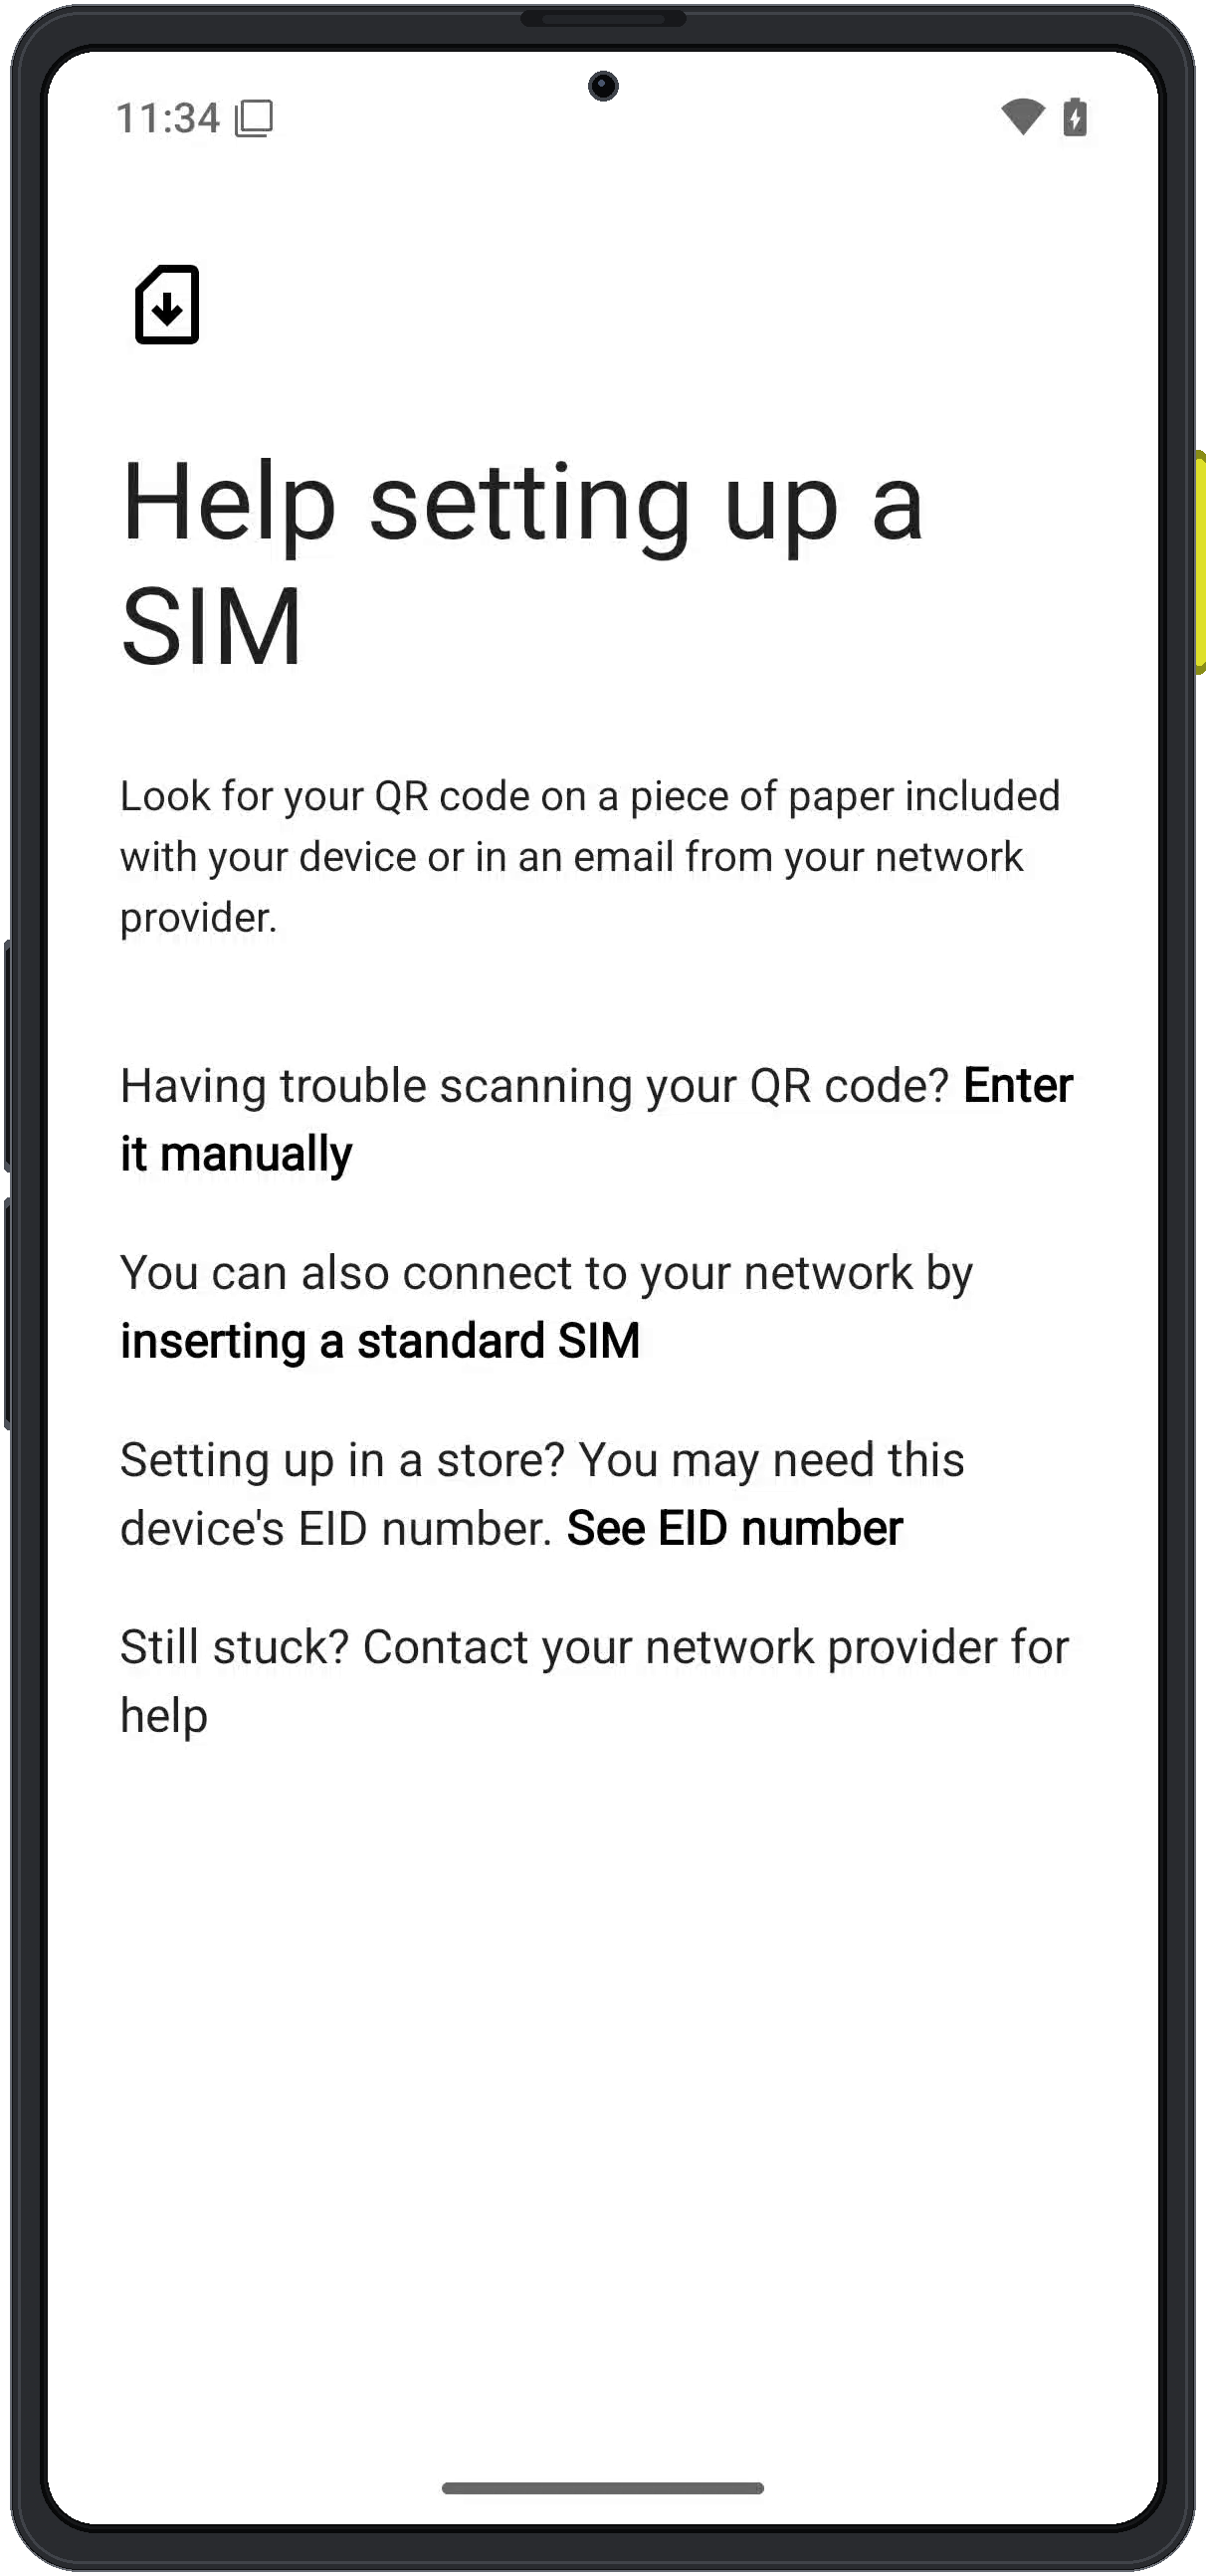
Security Notes
The setup wizard establishes the initial device baseline, but it does not replace the broader Enigm security model.- Enigm App message confidentiality remains based on protected key material and end-to-end encryption.
- Device Trust depends on Enigm OS security services, Trust Security Center, policy state, and controlled update posture.
- Biometric enrollment is a local device unlock method, not an Enigm account recovery mechanism.
- Administrative management does not provide access to message plaintext, call content, media, attachments, or private key material.